 Zyrox
ZyroxHow to Choose a Monitor Arm and Stand
Learn how to choose the right monitor arm. Understand VESA patterns, weight limits, gas spring vs mechanical tension, clamp vs grommet mounting, and cable routing.
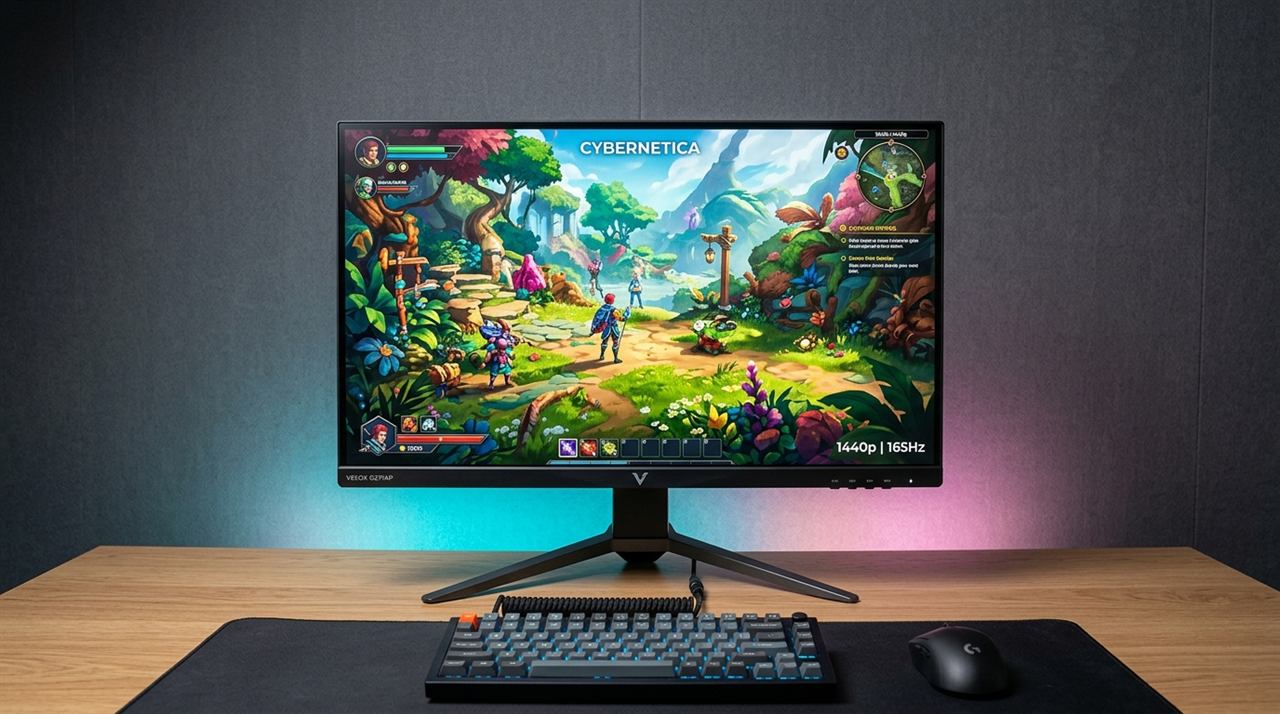 My desk used to be a mess of wasted space. The stock monitor stand ate up about eight inches of depth, cables draped everywhere, and no matter how I adjusted the screen, the height felt slightly wrong by the end of a long day. A monitor arm fixed all three of those problems in a single afternoon.
What I didn't expect was how much thought actually goes into choosing the right one. VESA compatibility, weight limits, desk mounting options — there's more to it than just picking the first arm on Amazon.
First: Check If Your Monitor Even Supports a Mount
Not all monitors have VESA mounting holes. Some budget models and certain ultrawides use proprietary stands with no mounting option at all.
Look at the back of your monitor. You're looking for a pattern of four screw holes arranged in a square. Measure the distance between the holes horizontally and vertically to get your VESA pattern in millimeters.
The two patterns you'll see most often:
- 75x75mm — mostly found on smaller monitors under 27 inches
- 100x100mm — the most common standard, used on most 24 to 32 inch monitors
Larger ultrawides (34 inches and up) often use non-standard patterns like 100x200mm. Always check your specific model. If you can't find the holes, sometimes they're hidden behind a cover plate under the stock stand. Your monitor's manual or product page will confirm.
Weight Is Where People Screw Up
Every monitor arm has a maximum weight rating, and if you exceed it, the arm will slowly drift downward over hours until your screen is pointing at the floor. In bad cases, it can fail entirely.
Here is the thing most people miss: don't buy an arm that's rated exactly at your monitor's weight. You need margin. Arms calibrated right at their limit tend to drift because the spring tension is maxed out. Add at least 1-2 kg of headroom above your actual monitor weight.
A quick way to check: weigh your monitor on a kitchen scale with the stock stand removed. The weight rating on the arm refers to the panel only, not the panel plus its original stand.
The Arms Actually Worth Buying
After testing several, these are the ones I recommend.
Ergotron LX (~$150–$180) — The gold standard benchmark. Built with polished aluminum and durable mechanical springs rather than cheap gas cylinders that lose pressure over time. The tension is adjustable with an Allen key, the range of motion is silky-smooth, and the integrated cable routing channels keep power and display cables completely hidden. If you want an arm that will comfortably outlast three monitor upgrades over a decade, this is the investment.
Amazon Basics Single Monitor Arm (~$80–$100) — Manufactured under OEM agreement by Ergotron. It utilizes the same durable internal spring mechanism as the LX, but with a matte black finish and slightly simplified plastic cable clips. It offers 95% of the Ergotron LX's stability at a significantly lower price point.
Vivo Single Counterbalance Arm (STAND-V100A / V101O) (~$35–$50) — The premier budget choice. Uses an adjustable pneumatic gas spring suitable for standard 24- to 32-inch monitors up to 9 kg (19.8 lbs). While the joint transitions aren't as fluid as Ergotron's, it locks solidly in position once adjusted and includes both C-clamp and grommet mounting hardware.
HUANUO Heavy Duty Gas Spring Arm (~$75–$95) — Designed specifically for heavier ultrawide panels (up to 34 or 38 inches) weighing between 8 kg and 12 kg. Reinforced base clamp prevents desk wobbling during typing.
Single Arm vs. Dual Setup
If you're running a single monitor, any of the arms above will work great. But if you're thinking about a dual monitor setup, you have a choice to make.
I actually recommend buying two separate single arms rather than a combo dual arm, especially if your monitors are different sizes or weights. Individual arms let you adjust height, tilt, and rotation completely independently. Combo arms often force both monitors into the same height range, which is annoying if one is your primary and the other is a secondary at a different angle.
If both monitors are identical and you want a clean look, the Ergotron LX Dual is a fine all-in-one option.
Clamp vs. Grommet
Clamp mounts grab the edge of your desk. They're quick to install and reposition. Most arms support desk edges up to about 60mm thick. One tip: put a rubber pad between the clamp and your desk surface, especially on soft wood. The clamp will leave marks otherwise.
Grommet mounts thread through a hole in the desk. They're more stable since the arm is structurally bolted to the desk rather than just hanging on the edge. Most standing desks come with pre-drilled grommet holes. The downside is you can't easily reposition them without drilling a new hole.
If your desk is thicker than 60mm (common with solid wood), check the arm's maximum clamp opening before buying. The Ergotron LX goes up to 60mm, but some cheaper arms max out at 50mm.
Cable Management Makes or Breaks the Look
Honestly, the difference between an arm with integrated cable routing channels and a bare-bones arm is massive. Arms like the Ergotron LX and Amazon Basics route cables through dedicated snap-fit channels under the lower and upper arms. Cables enter near the monitor and exit near the desk clamp, keeping cables neatly hidden.
Budget arms without integrated channels require you to zip-tie or clip cables along the outside of the metal, which looks visibly messier.
A couple of practical tips: use right-angle DisplayPort/HDMI cables where they exit the monitor to reduce port strain, and always leave enough cable slack at the joints so the screen can tilt, rotate, and elevate without pulling cables taut. Use velcro ties instead of zip ties—velcro lets you swap or re-route cables without cutting anything.
Related Guides
← Back to home