 Zyrox
ZyroxWhat to Check First When a PC Won't Boot
A clear troubleshooting guide for PC boot failures, covering power, RAM, GPU, and BIOS checks before moving to deeper hardware diagnostics.
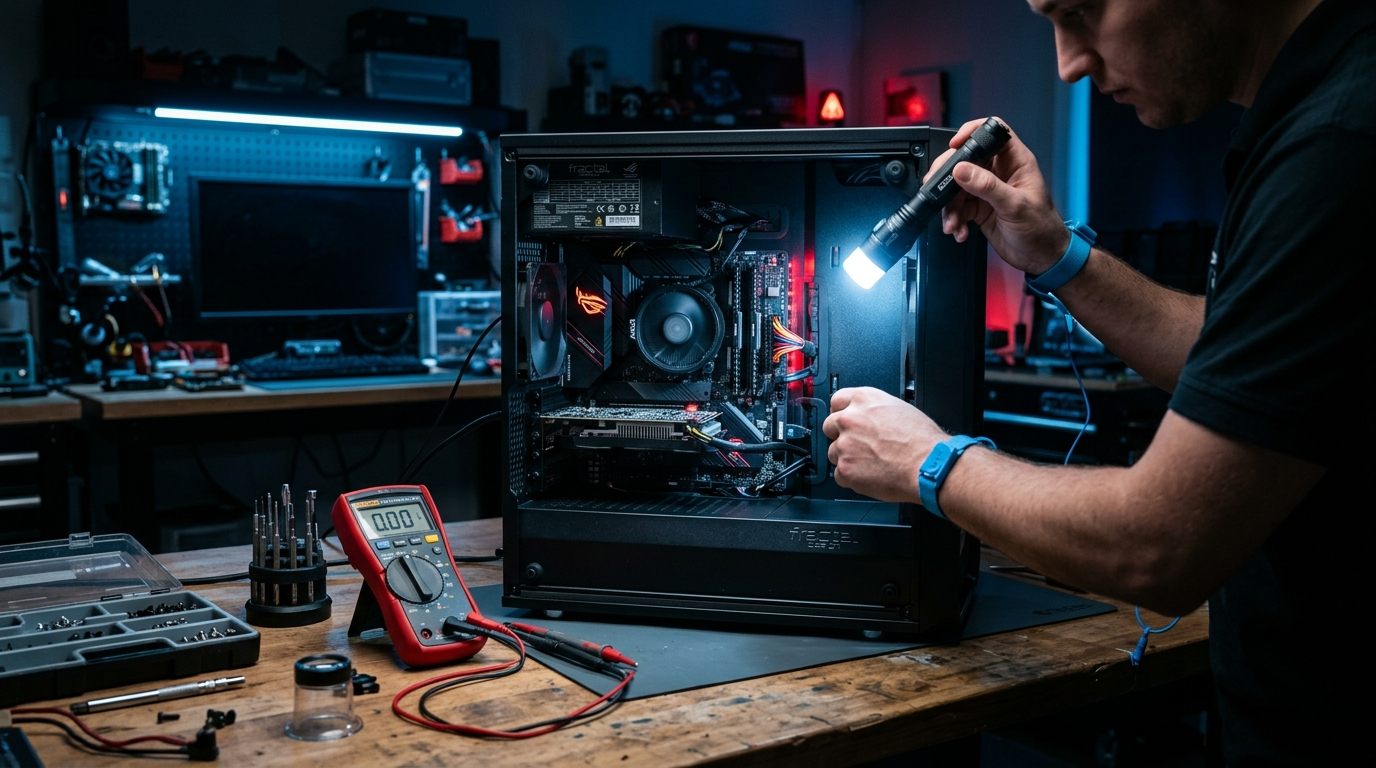 A PC that won't boot is one of those problems that can send you spiraling into worst-case scenarios. I've been there — staring at a black screen at midnight, assuming the motherboard is dead or the CPU is fried. Nine times out of ten, it's something far more mundane. A loose RAM stick. A PSU switch left in the off position. A BIOS setting from a failed overclock attempt.
This guide walks through the diagnostic process in order — from the most common and fixable causes to the more serious ones. Work through it methodically and you'll resolve most boot failures without replacing a single component.
No Display vs. No POST: Understanding the Difference
Before diving into steps, you need to distinguish between two different failure modes.
No POST means the system doesn't seem to do anything. Fans don't spin (or spin and immediately stop), no beeps from the motherboard speaker, debug LEDs don't progress. This is a hardware initialization failure — something critical is preventing the system from starting at all.
No Display means the system started — fans spin and stay on, debug LEDs may progress normally — but the monitor shows "no signal." This means POST happened (or partially happened) but video output failed. These require completely different approaches.
The #1 Beginner Mistake: The Motherboard HDMI Trap
Before touching a single internal cable, look at the back of your PC case:
Is your HDMI or DisplayPort cable plugged into the motherboard or the graphics card?
- If your processor ends in "F" or "KF" (like the Intel Core i5-12400F, 13600KF) or is an older Ryzen chip, the CPU has no integrated graphics. The HDMI/DP ports on your motherboard I/O shield are physically disabled.
- Plugging your monitor into the motherboard will leave your screen permanently black with a "No Signal" message, even while the PC boots into Windows in the background.
- The Fix: Plug your display cable into the horizontal ports on the dedicated graphics card situated further down the back of the case. Also, use your monitor's physical joystick to manually verify the input source is set to DisplayPort instead of Auto-Detect.
Step 1: Power Delivery and the Front Panel Jumper Test
Start at the very beginning of the power chain. These checks take two minutes and catch a surprising number of failures.
- The PSU Rocker Switch: Check the rocker switch on the back of the power supply. The line ("I") must be pressed down; the circle ("O") is off.
- The Front Panel Header (PWR_SW) Test: Did you accidentally plug the case power switch into the wrong pins? The tiny 2-pin front panel connector (
POWER SW) on the bottom-right corner of the motherboard (JFP1) is notoriously easy to misalign.- Technician Trick: Unplug the
POWER SWlead, locate the two power switch pins on the motherboard header, and gently touch both pins simultaneously with the tip of a flathead metal screwdriver for one second. If the PC instantly powers on, your motherboard is fine—your case button or wire is loose or defective.
- Technician Trick: Unplug the
- Internal Power Cables:
- Reseat the thick 24-pin ATX connector on the right side of the motherboard until the plastic retention clip snaps over the latch.
- Reseat the 8-pin (or 4+4 pin) CPU EPS power cable in the top-left corner of the board. A missing CPU EPS cable will spin fans but completely block POST.
Step 2: POST Beep Codes
If your motherboard has a speaker or built-in buzzer, POST beep codes tell you exactly what failed. One short beep means everything is fine. Two or three short beeps usually point to a memory problem. Five short beeps indicate a CPU failure. One long beep followed by two or three short ones means the GPU or its memory has an issue. Continuous beeping almost always means RAM or GPU is not seated properly.
Count the beeps and look up the code for your specific motherboard's BIOS type. This is one of the fastest diagnostic paths available.
Step 3: RAM Reseating
Improperly seated RAM is the single most common cause of no-POST failures, both in new builds and after a system has been moved.
Power down and unplug from the wall. Open the case and remove all RAM sticks by pressing the retention clips outward and pulling each stick straight up. Inspect the gold contacts for oxidation or damage. Then reseat one single stick in slot 2 (the second slot from the CPU) — this is the primary single-stick slot on most boards. Line up the notch, press down firmly and evenly until you hear two clicks, and confirm both clips are locked.
Try to boot with just that one stick. If it works, great — the other stick or its slot may be faulty. If it doesn't, try the other stick alone in the same slot. If neither works in slot 2, try slot 1. This one-at-a-time process is the systematic way to isolate a bad stick from a bad slot.
Step 4: GPU Power and Seating
A GPU with an unplugged or loosely seated power connector will either fail POST or produce a black screen.
Check that every power connector on the GPU is fully seated. The click on PCIe power connectors is firm — push until you hear it. For NVIDIA's newer 16-pin (12VHPWR) connectors, make sure the cable is inserted completely until both retention tabs click. These connectors have had documented issues with partial insertion.
Also verify the GPU itself is clicked into the PCIe retention clip at the end of the slot. Partially seated GPUs are a surprisingly common boot failure cause.
Step 5: Debug LED Interpretation
Most modern mid-range and high-end motherboards include four debug LEDs labeled CPU, DRAM, VGA, and BOOT. During a normal POST, these light up in sequence and turn off as each component initializes. If the system stops with one LED staying lit, that tells you the stage where POST failed.
CPU LED staying on means the CPU wasn't detected or isn't properly seated. It also happens when the CPU power connector is missing. DRAM LED means a RAM issue — reseat and test one stick at a time. VGA LED means the GPU isn't detected — reseat the card and check power connectors. BOOT LED means the storage drive or OS bootloader failed — check SATA and NVMe connections.
Step 6: CMOS Clear
A CMOS clear resets the BIOS to factory defaults. This fixes failed overclocks, corrupted BIOS settings, and situations where a BIOS update went wrong.
The most reliable method is using the Clear CMOS jumper header on the motherboard, labeled JBAT1 or CLRTC. On modern boards, this is almost always a 2-pin header: unplug the PC from the wall, touch a metal flathead screwdriver across both pins for 5 to 10 seconds to discharge the circuit, and release. (On older boards with a 3-pin header, move the plastic jumper cap from pins 1-2 to pins 2-3 for 15 seconds, then return it). Alternatively, remove the round CR2032 coin-cell battery for 5 minutes, or press the dedicated rear I/O Clear CMOS button if your board features one.
After clearing CMOS, re-enter the BIOS and re-enable XMP/EXPO for your RAM speed, Secure Boot if needed for Windows 11, and verify the correct boot drive is selected.
Step 7: Minimum Boot Configuration
If nothing above has worked, strip the system to bare essentials. CPU with cooler, one RAM stick in the recommended primary slot, GPU (or integrated graphics), one boot drive, and power connections. Remove all additional RAM sticks, extra storage drives, PCIe expansion cards, front panel USB headers, and anything else non-essential.
Power on with just this minimum configuration. If it boots, add components back one at a time, rebooting after each addition. The first component that causes failure when re-added is the culprit.
If you want to go even further, you can boot the system outside the case entirely — on a cardboard box or antistatic mat. This eliminates the possibility of a short circuit caused by a misplaced standoff touching the motherboard in the wrong spot.
New Build vs. Previously Working System
For a brand-new build, the most common cause is a missing connection or unseated component. Check CPU power first, then RAM seating, then GPU seating. Verify the CPU orientation is correct and that standoffs are installed in the right positions.
For a system that was working before, start with the power chain, then RAM reseat, then CMOS clear. Think about what changed recently — new hardware, a driver update, a BIOS update, a Windows update. Also check for dust accumulation causing thermal shutdown, or fans that have failed and triggered thermal protection.
BIOS Recovery Mode
If the BIOS itself is corrupted from a failed update or power loss during an update, most modern boards have a recovery mechanism. Copy the correct BIOS file to a FAT32 USB drive, rename it according to the manual, insert it into the designated flashback USB port, and hold the flashback button for a few seconds until the LED starts blinking. Wait without interrupting for 10 to 15 minutes. This re-flashes the BIOS chip directly from USB without needing the system to POST first, which is what makes it invaluable when nothing else works.
Related Guides
← Back to home