 Zyrox
ZyroxHow to Choose the Right PC Case
A practical guide to PC case selection covering size, airflow, expansion options, and build quality for your next desktop build.
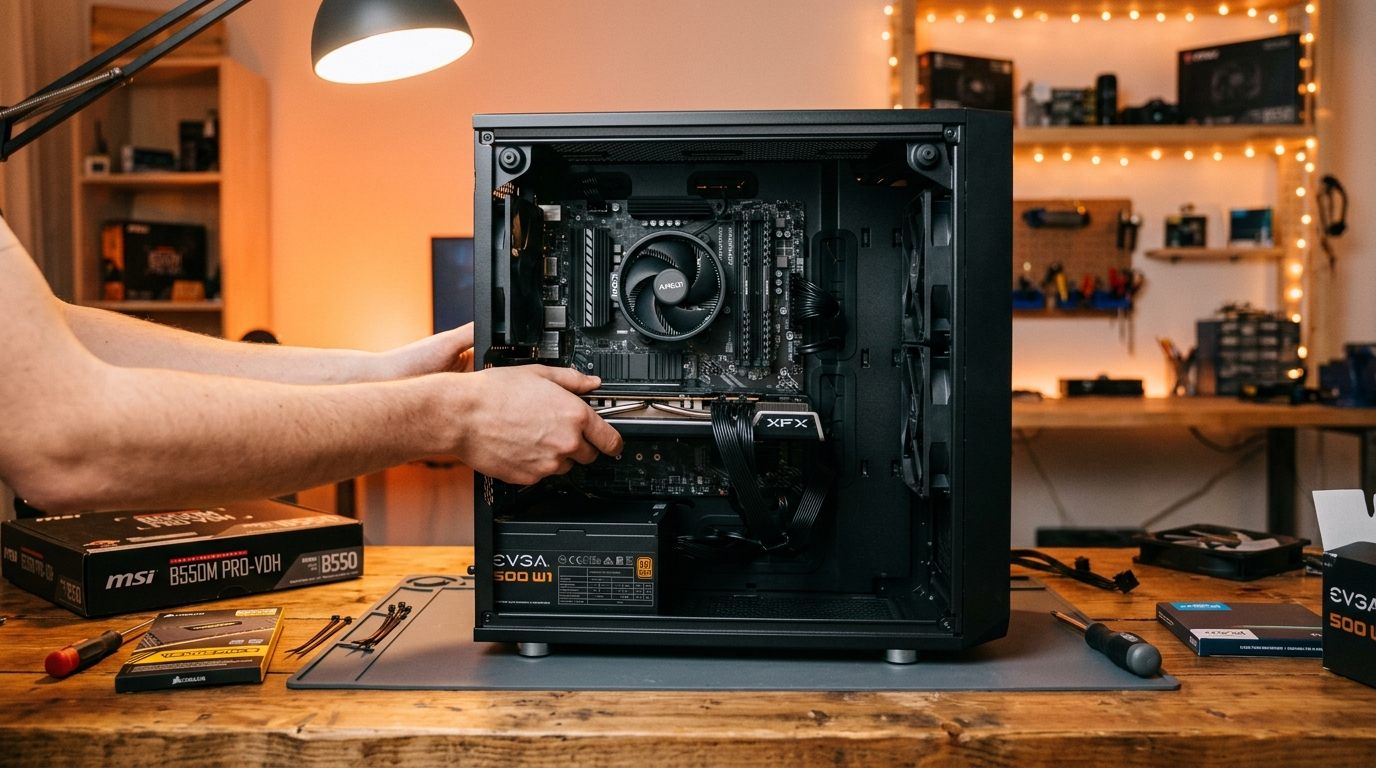 I've built PCs in everything from a cramped $40 budget box to a full-tower behemoth that barely fit under my desk. After a while you stop caring about RGB strips and start caring about what actually makes the build process smoother and the final system easier to live with.
The case is where all your expensive hardware spends its entire life. Choose wrong and every upgrade, every cleaning session, every cable swap becomes slightly more painful. Choose right and you open the side panel once a year to blow out some dust and otherwise forget the case exists.
Get Your Motherboard Size Right First
Before looking at a single case, know what motherboard you're using.
ATX (305 x 244mm) is the standard full-size format. Most mid-tower and full-tower cases support it. You get seven expansion slots, four or more DIMM slots, and maximum expansion flexibility.
Micro-ATX (244 x 244mm) is smaller but still supports four RAM slots and enough PCIe slots for any normal build. Here's a tip a lot of people don't know: mATX cases are often cheaper, and many mid-tower ATX cases also accept mATX boards. You get near-ATX interior volume with a smaller board and less wasted space.
Mini-ITX (170 x 170mm) is tiny. Two RAM slots, one PCIe slot, minimal storage. It requires a dedicated ITX case and demands much more careful planning around thermals and cable routing. I only recommend ITX when size is a genuine hard constraint — a living room media PC, a portable LAN rig, something like that.
Whatever you choose, cross-check the motherboard against the case spec sheet before purchasing. Do NOT assume a large mid-tower automatically supports mATX and ITX just because it supports ATX.
Measure Your GPU or You Will Regret It
Modern high-end graphics cards are enormous. The RTX 4080 Super and RX 7900 XTX run 330 to 345mm long. Some triple-slot cards with extended shrouds approach 360mm. A case that lists 310mm of GPU clearance will not fit these cards.
Here is how to avoid an expensive mistake:
- Lay the card flat on a desk.
- Measure from the back metal bracket to the very tip of the cooler shroud — the shroud, not just the PCB.
- Add 10-15mm of buffer for cable routing and airflow.
- Compare that number to the case's listed maximum GPU length.
Width matters too. A 3.5-slot GPU in a case designed around 2-slot cards can block airflow channels and, in some cases, physically prevent the side panel from closing properly. Ask me how I know.
Mesh Front vs. Glass Front: The Temperature Tax
A solid glass front panel looks gorgeous. It also chokes your intake airflow and makes your components run significantly hotter.
I tested the same hardware in multiple configurations. A mesh front with a glass side panel (the most common mid-tower design) is a perfectly fine compromise — the glass side has minimal thermal impact. But a glass front panel added 7°C to CPU temperature and 7°C to GPU temperature under full load compared to a mesh front. That's not trivial.
If you're running a high-TDP GPU north of 300W and you care about temperatures, a mesh front panel is the smart choice every time. Glass fronts are for builds where aesthetics trump thermals.
The Cases Worth Buying
Fractal Pop Air / Meshify 2 Compact (~$80–$110) — Fractal's modern high-airflow benchmarks. The Pop Air offers 405mm of GPU clearance with front fans installed, easily swallowing modern 3-fan graphics cards, along with pre-installed Aspect 12 fans and a clever hidden storage drawer. If you prefer premium build materials with removable top radiator brackets, the Meshify 2 Compact offers 345mm of clearance in a remarkably dense footprint.
Lian Li Lancool 216 (~$100–$115) — The undisputed champion of out-of-the-box airflow. It ships with two 160mm custom intake fans and a 140mm rear exhaust. The larger 160mm fans push massive volumetric airflow at only 800–1,000 RPM, keeping GPU core and memory temperatures 4–6°C cooler than standard triple-120mm setups at equal noise levels. It supports up to 392mm GPUs and 360mm radiators on top.
NZXT H6 Flow / H5 Flow (~$95–$115) — The H6 Flow features a dual-chamber panoramic glass design with three angled 120mm front-corner intake fans directing fresh air straight across the GPU backplate. If you want a traditional mid-tower, the H5 Flow includes a dedicated bottom intake fan pointed directly at the GPU intake fans.
be quiet! Pure Base 500DX / Shadow Base 800 (~$110–$160) — The premier choice for low acoustic resonance. The front panel combines high-porosity mesh with internal acoustic baffling. It includes three 140mm Pure Wings 2 fans, vibration-dampened HDD cages, and thick steel side panels that prevent coil whine or air turbulence from buzzing into your room.
Cable Management: The Underrated Feature
A case with less than 20mm of clearance behind the motherboard tray is going to frustrate you. You'll be shoving thick 24-pin cables through grommets and fighting to close the rear panel. The sweet spot is 25mm to 30mm or more.
Well-placed cable tie-down points matter just as much as depth. Cases like the Lancool 216 and Pure Base 500DX feature integrated velcro routing channels and dedicated tie points that keep front-panel I/O, SATA, and PCIe power cables separate and tidy.
Front I/O: Don't Skip USB-C
In 2026, a case without front USB-C is behind the times. You'll want at minimum:
- Two USB-A 3.0 ports (5 Gbps)
- One USB-C port (10 Gbps or 20 Gbps Type-E internal header)
- A unified 3.5mm audio/mic combo jack
Note on Motherboards: Front-panel Type-C requires a dedicated internal USB 3.2 Gen 2 (Type-E) header on your motherboard. While nearly all B650 and Z790/B760 boards include this, entry-level budget boards (such as A620 or H610) sometimes omit it. Verify your motherboard headers before purchasing.
Dust Filters: Clean Them or Suffer
Dust filters only work if you maintain them. In a typical home with hard floors and no pets, clean them every 6–8 weeks. With carpet or shedding pets, inspect them every 3–4 weeks. The bottom PSU filter collects lint the fastest because it is suctioning air directly from the floor.
Neglected filters are the sneakiest cause of gradual thermal degradation. Your temperatures creep up 3–5°C over a few months, forcing internal fans to spin louder to compensate. Just rinse or wipe them regularly to maintain peak airflow.
Related Guides
← Back to home