 Zyrox
ZyroxHow to Clean a PC and Case Ventilation Without Damaging Components
A comprehensive, step-by-step guide to cleaning your PC case, fans, heatsinks, and dust filters safely. Prevent static damage, voltage spikes, and thermal throttling.
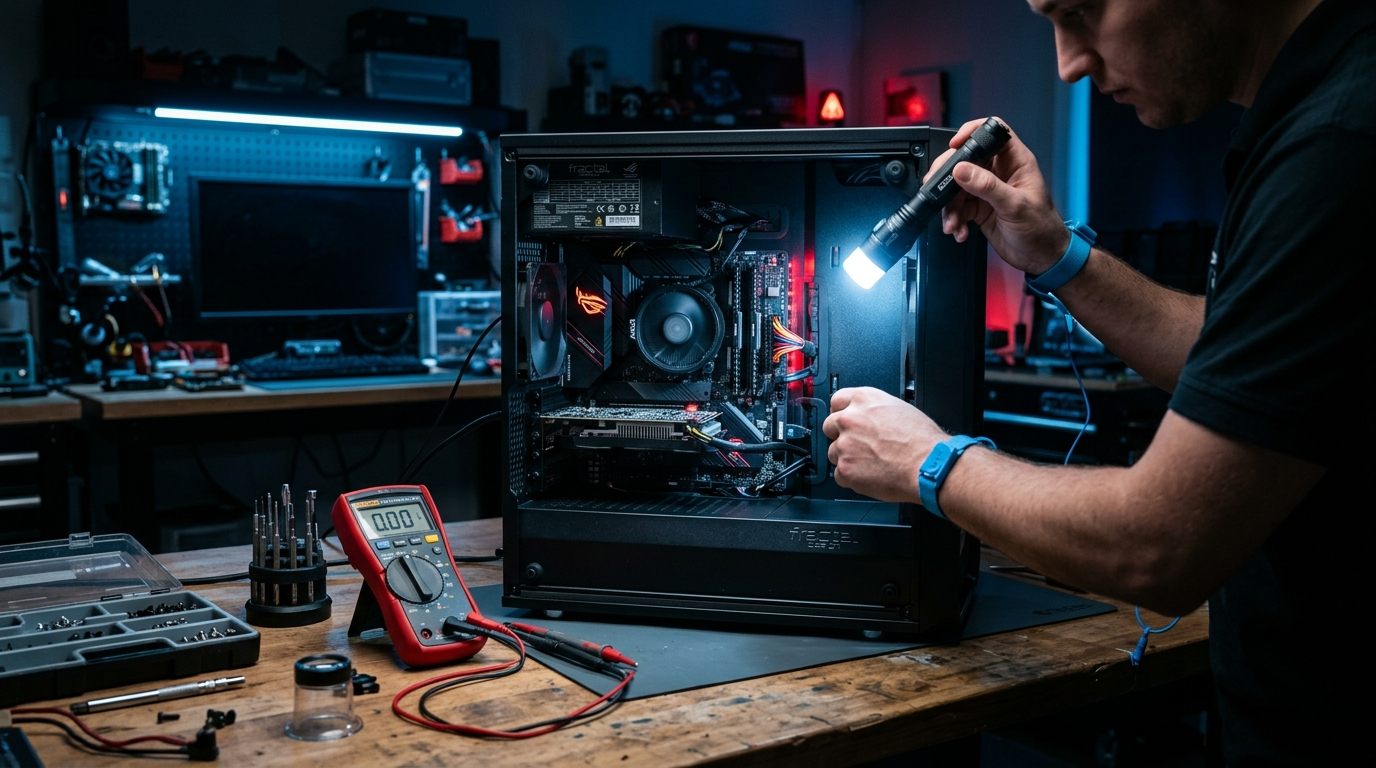 I opened my PC case last spring after about eight months of neglect and honestly felt embarrassed. The GPU heatsink looked like it was wearing a wool sweater, the case fans were caked in a thick layer of gray fuzz, and the front intake mesh filter was so clogged I could barely shine a flashlight through it. Internal temperatures had been creeping up for weeks, but I had ignored them, blaming warm weather.
That single cleaning session dropped my CPU idle temperatures by 9°C and my GPU under gaming load by nearly 12°C. No hardware upgrades, no liquid cooler repaste, no case swap — just systematic dust removal performed correctly.
Dust is a thermal insulator. When it coats heatsink fins, heat cannot escape into the air stream. When it packs into intake filters, fans must spin at maximum RPM to draw air, dramatically increasing noise while starving your graphics card of fresh air.
However, cleaning a PC carries genuine risks if you use improper tools or careless techniques. This complete guide covers everything you need: safe tools, electrostatic safety, filter washing, heatsink detailing, and the crucial mistakes that destroy hardware.
The Essential Toolkit (What to Use and What to Avoid)
Using the wrong cleaning tools is how components get bricked during maintenance:
What to Use
- Canned Compressed Air or Dedicated Electric Duster: For dislodging dust from heatsinks, fan blades, and radiator fins without physical contact. (If using canned air, never shake the can or hold it upside down, as it expels freezing liquid propellant).
- Anti-Static ESD Brushes: Soft nylon bristles designed to dissipate static charges while brushing motherboard VRM areas and RAM slots.
- 99% Isopropyl Alcohol (IPA): Pure alcohol evaporates almost instantaneously and leaves zero mineral residue. (Avoid 70% rubbing alcohol, which contains 30% water and can cause corrosion).
- Lint-Free Kimwipes or Microfiber Cloths: For wiping flat case panels, fan blades, and GPU backplates without leaving cloth fibers caught on soldered pins.
- Cotton Swabs & Wooden Toothpicks: Perfect for wedging between fan blades and cleaning lint out of external I/O ports.
What to NEVER Use
- Household Vacuum Cleaners Inside the Case: Plastic vacuum nozzles create massive electrostatic charges (thousands of volts). Touching a vacuum nozzle to a motherboard or GPU can fry microchips instantly.
- Feather Dusters or Wool Rags: High static friction generators.
- Household Glass or Surface Cleaners (Windex, Lysol): Highly conductive and contain chemicals that degrade circuit board solder masks.
Understanding and Cleaning Your Case Dust Filters
Different cases use different filter mechanisms, and handling them correctly prevents water damage:
- Magnetic Mesh Filters (Top & Side): Gently lift them away from the chassis. If lightly dusty, wipe them down with a microfiber cloth or blow them out with compressed air outside. If sticky or caked with pet dander, rinse them under warm tap water and allow them to air-dry completely (minimum 4 to 6 hours) before reinstalling.
- Slide-Out Bottom PSU Filters: Pull straight out from beneath the chassis. Because power supply fans pull cool air from the floor, this filter is often the most heavily caked with floor debris. Rinse, pat dry, and verify dry condition.
- Integrated Front Panel Mesh: Cases like the Fractal Meshify or be quiet! Pure Base have front mesh integrated into the bezel. Detach the front bezel entirely from the chassis. Blow air from the inside facing out so dust flies away from the PC.
Step-by-Step Deep Cleaning Guide
Step 1: Prep and ESD Safety
- Shut down Windows and flip the power switch on the PSU to OFF.
- Unplug the AC power cable from the wall.
- Press the case power button for 5 seconds to drain residual energy stored in the motherboard and PSU capacitors.
- Move the tower to a clean, well-lit table (preferably on hard flooring, not deep carpet).
- Ground yourself by touching the bare metal of the PC chassis frame before touching any internal electronic components.
Step 2: The Held-Blade Fan Technique
Critical Rule: Never allow cooling fans to free-spin while blasting them with compressed air. Forced high-speed rotation acts as an electrical generator (back-EMF), sending unregulated voltage back into the motherboard fan headers while causing bearing burnout.
- Use a finger or cotton swab to hold the fan blade firmly in place.
- Direct short, controlled 1–2 second bursts of air across each blade and through the hub.
- Wipe stubborn greasy blade film with a Kimwipe lightly dampened with 99% IPA.
Step 3: CPU Cooler & Radiator Deep Clean
- Air Tower Coolers: Direct compressed air bursts horizontally through the aluminum fin stack from behind, blowing dust forward out of the cooler rather than deeper inside.
- AIO Liquid Coolers (Radiator): Radiator fins trap lint like a lint trap. Blow air directly through the radiator fins from the exhaust side outward. If dust is compressed into felt between the fan and radiator, unscrew the fans from the radiator frame to clean the interface.
Step 4: Graphics Card (GPU) Detailing
The graphics card has two distinct zones:
- Intake Fan Side: Hold the two or three fans stationary and blow air up into the heatsink fins.
- Exhaust & Port Bracket: Check the HDMI and DisplayPort sockets on the rear bracket. Fluff and dust build up inside these cavities; dislodge it with a dry wooden toothpick and a light blast of air.
- If removing the GPU, you can clean the gold PCIe contact fingers with a lint-free wipe dampened in 99% IPA to restore clean electrical connection.
Step 5: Interior Wipe-Down
Use an anti-static brush on the RAM slots and PCIe lanes, followed by light air sweeps to clear dislodged debris. Wipe the PSU shroud, cable channels, and glass side panel with a dry microfiber cloth.
Maintenance Schedule: How Often Should You Clean?
The required frequency depends on the environment where your PC lives:
| Environment | Filter Check | Deep Clean Cycle |
|---|---|---|
| Desk Mounted (Hardwood floor, no pets) | Every 3 months | Once every 9–12 months |
| Floor / Carpet Mounted | Every 4–6 weeks | Every 3–4 months |
| Pet Owners (Cats / Dogs) | Every 3–4 weeks | Every 2–3 months |
| Smokers / Vapers in Room | Every 2 weeks | Every 4–6 weeks (Residue requires IPA wash) |
A quick two-minute visual inspection of your front intake filter every month will prevent thermal throttling and keep your cooling hardware operating at whisper-quiet decibel levels for years.
Related Guides
← Back to home