 Zyrox
ZyroxWhy PC Cooling and Case Airflow Matter More Than People Think
Case airflow and CPU cooling shape your PC's thermals, noise levels, and sustained performance. Learn why fan placement, cooler choice, and airflow design matter more than raw specs.
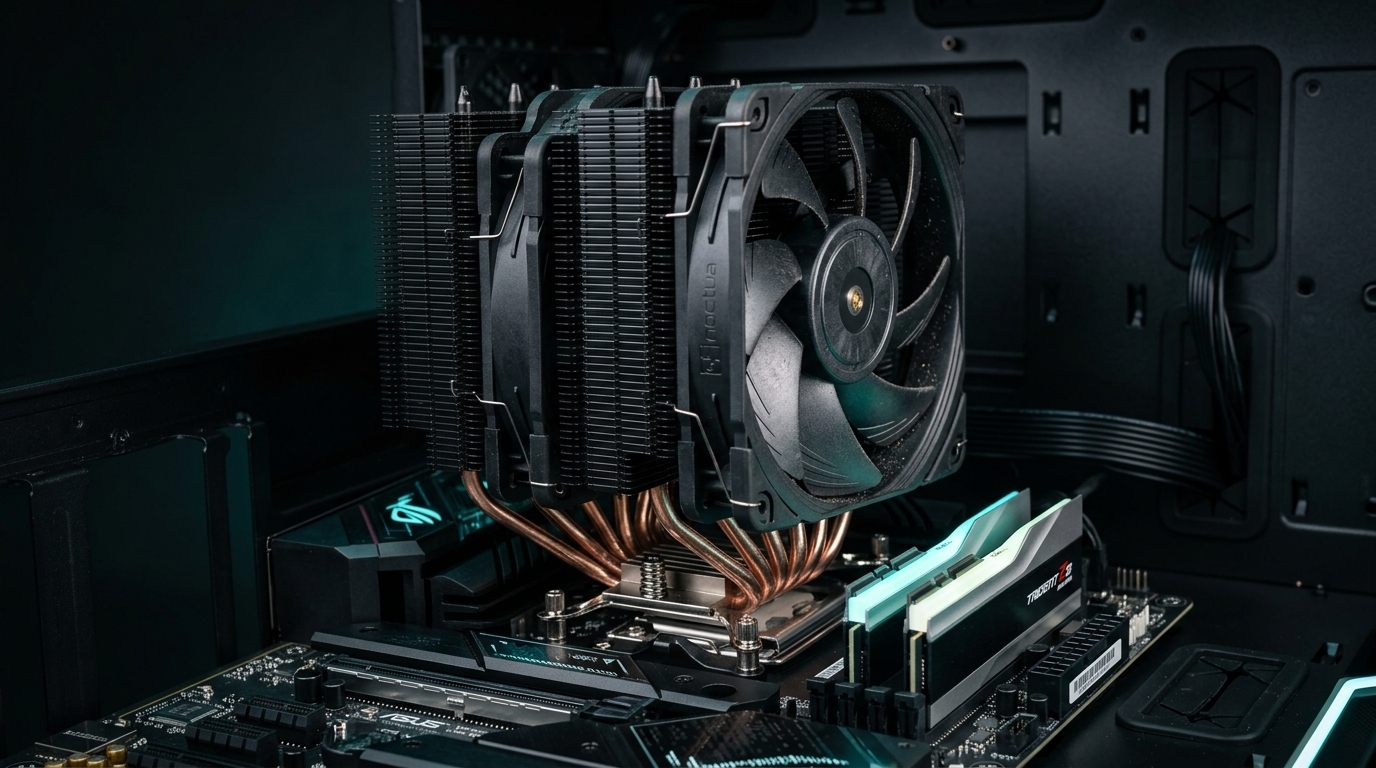 A few years ago, I built two identical systems. They had the same CPU, same GPU, same coolers, same RAM. One went into a Fractal Design Meshify C with a front mesh panel and three intake fans. The other went into a compact case with a solid steel front panel and a single rear exhaust fan. Same hardware, same room, completely different results.
The CPU in the second build ran a massive 14 degrees hotter under sustained load. The GPU ran 11 degrees hotter. Fan noise was noticeably louder because the fans were screaming to compensate for the restricted airflow. The system didn't crash, but it was running in conditions that shorten component lifespan and invite thermal throttling. That experiment made airflow real for me. It is not just an enthusiast concern; it is the foundation of a healthy PC.
Why CPU Cooling Still Matters More Than People Pretend
I've watched people spend $600 on a high-end CPU and then pair it with a cheap stock cooler because they assume "it comes in the box, it runs fine." It does run fine — until you actually push it. Under a heavy load, an Intel Core i9-14900K on an inadequate cooler hits 100°C in under 30 seconds and immediately starts throttling. The CPU that was supposed to hit 6.0 GHz is now crawling at 4.2 GHz. You paid for performance you simply aren't getting.
Thermal throttling is your processor's survival instinct. When it exceeds its maximum safe temperature (typically 100°C for Intel and 95°C for AMD), it forcibly reduces its clock frequency and voltage. In a 10-minute Cinebench run, a budget cooler on a Core i9 hits 99°C and loses over 13 percent of its potential score. A Blender render takes 35 percent longer.
TDP is a Lie
TDP, or Thermal Design Power, is the number manufacturers use to suggest what cooler you need. You need to ignore this number. The Intel Core i9-13900K says 125W TDP, but its maximum turbo power hits 253W, with spikes to 320W. AMD's Ryzen 9 7950X is rated at 170W TDP, but draws up to 230W under default settings. Before buying a cooler, look up the actual sustained power draw in independent reviews.
Stock Coolers: Where They Work and Where They Don't
Intel's stock cooler included with non-K chips (like the Core i5-12400) is rated precisely for that chip's 65W baseline. It works for light tasks but spins up to 3,000 RPM under load, producing an annoying whine. Intel doesn't even include a cooler with K-series chips — they know those would throttle immediately.
AMD's Wraith coolers are better. A Ryzen 5 5600 on its Wraith Stealth stays below 75°C. But for Ryzen 9 chips or anything sustaining over 105W, stock coolers are no longer viable.
The Mesh Front Advantage
The front panel is the primary intake point for most mid-tower cases. If that pathway is obstructed, everything downstream suffers.
A solid steel or tempered glass front panel forces air to squeeze through tiny gaps at the bottom or narrow side slots. Switching from a solid front case to a full mesh front with three intake fans can drop CPU temperatures by up to 17 degrees, and GPU temperatures by 16 degrees. That is the difference between operating comfortably and redlining in the danger zone.
However, a mesh front with a clogged dust filter performs almost as badly as a solid panel. Dust accumulation is cumulative. To break this cycle, you need to clean your front filters every four to six weeks.
Positive vs Negative Pressure
Pressure differential refers to whether your case has more air entering (positive pressure) or more air leaving (negative pressure).
Positive pressure means you have more intake fans pushing air in than exhaust fans pulling it out. This forces air out of every gap and seam in the case. As long as your intake fans have dust filters, positive pressure is the best setup for long-term maintenance.
Negative pressure happens when you have more exhaust than intake. While it can sometimes offer slightly better temperatures, it means your PC will accumulate dust noticeably faster. For most users, aiming for a modest positive pressure is the smartest balance.
How to Set Up Your Fans
Front fans should be intakes, pulling fresh air into the case toward the CPU and GPU. Two 140mm or three 120mm fans work perfectly here. The rear fan, positioned behind the CPU cooler, must be an exhaust, blowing hot air out.
Top fans should also be configured as exhaust. While builders often cite "heat rises," active fan pressure is what actually drives cooling—placing top exhausts directly above the CPU fin stack and motherboard VRMs allows warm air to evacuate immediately without circulating back across the motherboard. Bottom fans, if your case supports them, are great for intake, feeding fresh ambient air directly into the graphics card fans.
One of the most common mistakes I see is builders installing all fans as exhaust, thinking it will pull all the hot air out. This creates severe negative pressure, sucks in dust from everywhere, and starves the components of fresh, cool air.
The Right Cooler for Your CPU
Intel's 13th and 14th Gen Core i7 and i9 processors are the hardest consumer chips to cool. To keep an i7-13700K or i9-14900K from throttling, you essentially must buy a massive dual-tower air cooler or a 360mm AIO liquid cooler.
AMD's Ryzen 7 7800X3D is an exception — it has a hard limit on power to protect its stacked cache, meaning an excellent 120W air cooler handles it beautifully.
If you are on a budget with a 65W chip, a $20 Thermalright Assassin X 120 SE provides shocking value. For mainstream gaming chips, dual-tower coolers like the ~$36 Thermalright Phantom Spirit 120 SE (or Peerless Assassin) and the ~$55 DeepCool AK620 punch way above their weight. For premium builds, the $100+ Noctua NH-D15 remains the benchmark for air cooling acoustics.
The Best Airflow Cases Right Now
The Fractal Design Torrent is an airflow monster, shipping with two massive 180mm front intakes and three 140mm bottom intakes. For a more standard mid-tower, the Lian Li Lancool 216 is my go-to recommendation — two 160mm front fans that move incredible amounts of air quietly, all for around $100. The Montech AIR 903 MAX and Phanteks XT Pro Ultra are also phenomenal value picks under $80.
If you want to improve your current build without buying a new case, start by cleaning all your filters. Check that your fans are pointing the right way: air enters through the open blade side and exhausts out through the rear side with the plastic frame struts and motor sticker. Reroute cables behind the motherboard tray to clear the air path. And if you have empty fan mounts in the front, buy a couple of $10 Arctic P12 or P14 PWM fans and drop them in.
Don't skimp on cooling. It dictates the actual performance ceiling of the most expensive parts of your computer.
Related Guides
← Back to home