 Zyrox
ZyroxWhat to Do When Your PC Overheats
A practical checklist for identifying PC overheating causes and reducing temperatures before they lead to throttling or damage.
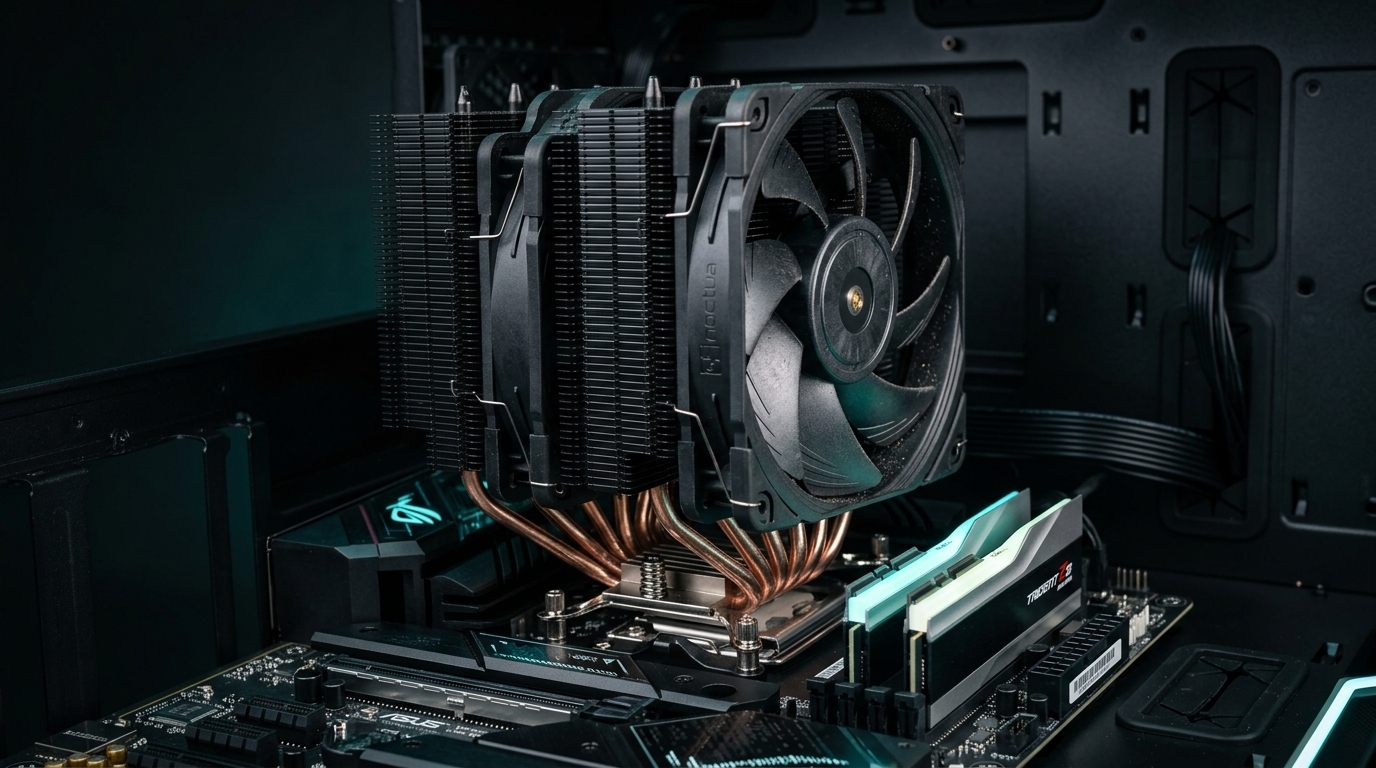 There is a specific kind of dread that comes with watching your PC stutter mid-game, lock up during a render, or shut itself off without warning. I have been there more times than I would like to admit, and almost every time the root cause turned out to be heat. Overheating is one of the most common and most preventable hardware problems out there. The good news is that with the right tools and a bit of patience, it is something you can usually fix yourself.
This guide walks through the full process — from detecting overheating and diagnosing which component is responsible, to cleaning dust, replacing thermal paste, tuning fans, and deciding when it is finally time to upgrade the cooling hardware entirely.
How to Identify Overheating with HWiNFO64
Before touching anything inside the case, you need real data. Guessing at temperatures is a waste of time. The best free tool for this is HWiNFO64, which reads sensors from every major component and presents them in a single window.
Download HWiNFO64, install it, and launch it in Sensors-only mode. You will see a scrollable list of readings covering your CPU cores, package temperature, GPU hot spot, VRMs, NVMe drive temps, and more. Run a stress test alongside it — Prime95 with the Small FFTs preset for the CPU, and FurMark or a demanding game for the GPU. Watch the temperature columns as the load climbs.
Throttling is the key signal that overheating has become a real problem. Modern CPUs and GPUs protect themselves by automatically reducing their clock speed when they exceed a thermal limit. In HWiNFO64, look for a column labeled CPU Throttling or GPU Throttling. If you see Yes, True, or a non-zero value during load, the component is actively being slowed down to prevent damage. That is the system telling you the cooling is not keeping up.
CPU vs GPU Overheating: Different Causes, Different Fixes
Not all heat is created equal, and the cause of overheating on a CPU is often very different from what drives GPU temperatures up.
CPU overheating is usually caused by dried-out thermal paste, an undersized cooler, or degraded mounting pressure. In some cases, especially with high-end Intel chips, aggressive motherboard power limits can drive temperatures beyond what any normal cooler can handle. When a CPU throttles, you'll usually experience stuttering across the whole system.
GPU overheating tends to come from thick dust accumulation on the heatsink fins, an inadequate factory cooler, or a case that traps warm air around the graphics card. High-end cards produce enormous amounts of heat and need both good coolers and good case airflow to stay in range. A GPU that throttles will show as a sudden frame rate collapse and dropped clock speeds.
Modern Temperature Thresholds: What Is Actually "Too Hot"?
Hardware architectures have changed drastically, and older rules of thumb no longer apply:
- AMD Ryzen 7000 & 9000 (AM5): Designed by AMD to boost aggressively until reaching their thermal ceiling. Standard non-X3D chips (like the 7600X, 7700X, 9700X, 7950X) are engineered to run at 95°C TJMax under full all-core loads without degradation. On the Ryzen 7 7800X3D, the hard thermal ceiling was set to 89°C because the first-generation 3D V-Cache was stacked directly on top of the compute die, acting as a thermal blanket. On the newer Ryzen 7 9800X3D (Zen 5), AMD inverted the physical layout by placing the 3D V-Cache underneath the cores, allowing the cores to contact the IHS directly and restoring the official TJMax to 95°C.
- Intel 13th & 14th Gen K-Series: Official TJMax is 100°C. Under heavy multi-threaded rendering (Blender, Cinebench), running at 90°C to 98°C is normal for an i7 or i9. Throttling only begins at 100°C, and emergency PROCHOT shutdown occurs at 105°C.
- Mainstream 65W CPUs (Ryzen 5 5600, i5-12400): Should comfortably stay between 65°C and 78°C under load. Hitting 85°C+ on these chips indicates an improperly mounted cooler or dead fan.
- Graphics Cards (GPU Core & Hotspot): GPU core temperatures should ideally stay below 80°C (thermal throttling typically begins at 83°C–84°C). The GPU Hotspot / Memory Junction can safely reach 90°C to 100°C on GDDR6X cards, but climbing past 105°C signals thermal pad degradation or heatsink mounting issues.
Step-by-Step Dust Cleaning Guide
Dust is the single most common cause of overheating in systems older than six months. It acts as an insulating layer on heatsink fins and fan blades, dramatically reducing their ability to move and dissipate heat. I cleaned a friend's three-year-old gaming PC last year and dropped CPU temps by 18 degrees just from removing dust. It took about 25 minutes.
Shut down completely, unplug the PC, and move it to a well-ventilated area (outdoors is ideal). Remove the side panels. Use short bursts of compressed air — never hold the nozzle for more than a second at a time to avoid spraying liquid propellant. Focus on blowing through the CPU and GPU heatsink fins from multiple angles.
When blowing out case fans, hold the fan blades still with a finger. If the blades spin freely from the compressed air, they can generate a voltage spike that can damage the fan controller. Finally, pull out any case intake filters, rinse them if they are foam, or tap them clean if they are metal mesh. Let them dry completely before reinserting. If temperatures improve significantly after this, dust was your problem. If not, move on to thermal paste.
Thermal Paste Replacement: Modern Application Techniques
Thermal paste fills microscopic air gaps between the CPU's metal integrated heat spreader (IHS) and the cooler's base plate. Over time, heat cycles cause paste to dry out, crack, or suffer from the "pump-out effect" (where micro-expansion forces paste out toward the edges), increasing thermal resistance.
You'll need 99% isopropyl alcohol, lint-free microfiber wipes or Kimwipes, and high-performance non-conductive paste (like Arctic MX-6, Noctua NT-H2, or Thermal Grizzly Kryonaut). Remove the cooler by backing out mounting screws in a cross pattern a few turns at a time to equalize tension. Clean both the CPU lid and cooler cold-plate until the metal shines mirror-clean.
Modern CPU IHS Geometry: The old "pea-sized dot dead in the center" advice only worked well on older square, monolithic CPUs.
- Intel LGA1700 (12th, 13th, 14th Gen): Because the package is an elongated rectangle (45mm × 37.5mm), a single center dot leaves the top and bottom edges completely bare. Use a thin vertical line or a 5-dot pattern (a center dot with four smaller corner dots).
- AMD AM5 (Ryzen 7000 & 9000): The CPU compute dies (CCDs) are placed off-center in the lower-right quadrant, not under the middle. A 5-dot X-pattern or an even spatula spread ensures direct contact over the actual core silicon hotspots.
Remount the cooler, alternating screw turns in an X-pattern until spring screws bottom out firmly. Do not overtighten beyond stop screws.
Diagnosing AIO Liquid Cooler Pump Failure
If your CPU hits 95°C–100°C within 30 seconds of turning on the PC—even while sitting idle at the Windows desktop—your thermal paste is not the culprit. This sudden thermal spike is the hallmark symptom of an AIO pump failure or an airlock.
To diagnose a liquid cooler:
- The Tube Temperature Touch Test: While the PC is on and running hot, carefully touch both rubber hoses leading into the radiator. In a functioning loop, fluid moves rapidly, so both tubes will feel lukewarm with a barely perceptible temperature difference (typically 1°C–3°C). If one hose is scalding hot to the touch and the other hose is room temperature, coolant has stopped circulating. The impeller is dead or jammed.
- Pump Tachometer Check: Check HWiNFO64 or your BIOS under the
AIO_PUMPorCPU_OPTfan header. A working AIO pump spins between 2,000 RPM and 3,500 RPM. If the sensor reads 0 RPM, verify that the SATA power lead and motherboard tachometer header are fully seated. If power is supplied but RPM is 0, the pump motor is dead. - Loop Orientation (The Cavitation Trap): Air always rises to the highest physical point in any closed liquid loop. If your radiator is installed on the floor of the case with the hoses pointing up toward the CPU, the pump block becomes the highest point. Air collects inside the pump housing, starving the ceramic bearings of lubrication, causing loud gurgling/whining noises, and preventing coolant from moving. The radiator tank or top must always be mounted physically higher than the CPU pump block.
Fan Curve Tuning and Case Airflow
Out-of-the-box fan curves are often too conservative to keep noise down, meaning components run hotter than necessary. Tuning the curve yourself fixes this. In your BIOS (Fan Xpert for ASUS, Hardware Monitor for MSI), set a graph of fan speed vs. temperature. A good starting point is 100% speed at 80°C and 50-60% at 65°C. For GPU fans, use MSI Afterburner to set a custom curve. I usually run GPU fans at 60% by 75°C, and 100% at 85°C.
Good case airflow is just as critical. Clean your intake filters regularly. Ensure intake fans pull air in and exhaust fans push air out. If you have empty fan mounts at the front, adding a 140mm intake fan like a Noctua NF-A14 will help significantly. Finally, route loose cables behind the motherboard tray so they don't block the air path.
Emergency Actions and When to Upgrade
If your system is actively throttling during an important session, close non-essential apps, lower in-game graphics settings, and temporarily open the case side panel to let ambient air in. Pointing a desk fan at the open case helps too. These are just band-aids until you fix the root cause.
Sometimes cleaning and paste aren't enough. If you're running a stock Intel cooler on a high-end chip, or if you've done all the maintenance and still hit 90°C+ under load, you need new hardware. The Noctua NH-D15 G2 and Thermalright Peerless Assassin 120 / Phantom Spirit 120 are gold standards for air cooling value. For liquid, the Arctic Liquid Freezer III 360 and NZXT Kraken 360 handle the hottest CPUs comfortably. If your GPU is the problem and it's out of warranty, replacing its thermal pads and paste is a valid last resort before buying a new card.
Related Guides
← Back to home