 Zyrox
ZyroxSigns Your Motherboard May Be Failing
Recognize early warning signs of motherboard failure, including USB dropouts, POST errors, random shutdowns, and capacitor damage indicators.
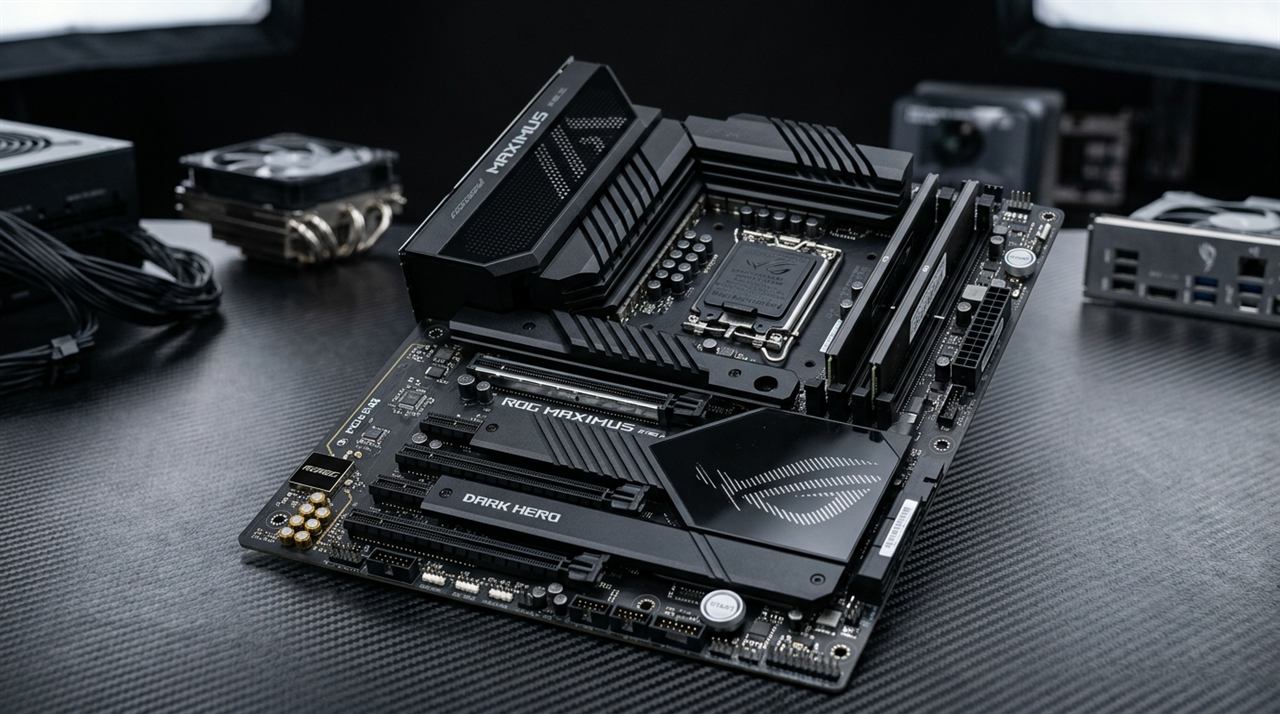 A failing motherboard is one of the most frustrating hardware problems you can deal with. Unlike a dead GPU or a bad RAM stick, motherboard failures rarely announce themselves cleanly. Instead, they masquerade as other problems — a Windows crash that looks like a software issue, a USB device that stops working and seems like a driver problem, or random reboots that point suspiciously at the power supply. The board itself is easy to overlook because it is the foundation everything else sits on.
I have diagnosed motherboard failures across dozens of systems over the years, and the pattern I have learned is this: when symptoms appear across multiple unrelated subsystems at the same time, the motherboard is the common denominator. A single failing component causes one type of problem. A failing motherboard causes several at once. That overlap is your first real clue.
Here is a thorough breakdown of every major symptom pattern I look for, how to tell whether the board is actually responsible, and when to cut your losses and replace it.
POST Failure: No Display, Debug LEDs, and Beep Codes
POST — Power-On Self-Test — is the sequence of hardware checks your system runs in the first seconds after you hit the power button. A failing motherboard often stumbles during POST or fails to complete it entirely.
No display on boot is the most common first symptom. The fans spin, the lights turn on, but the screen stays black. If you have verified your monitor is plugged into the GPU and the GPU is seated properly, POST failure is a real possibility.
Debug LED codes on modern high-end boards give you a clear picture. These small alphanumeric displays show a two-character code during boot. If your board hangs on a specific code every time, look it up in your manual to see exactly which subsystem is failing. Older boards use beep codes; one long beep and three short ones usually means a GPU error, while continuous beeping points to RAM. No beeps and a black screen suggest a fundamental board fault, like a dead CPU socket or corrupted BIOS.
USB Port Failures
USB port failure is a subtle early sign of degradation. It often starts small — a specific rear port stops recognizing devices, or a fast port falls back to slow speeds. Users assume it's a driver issue, but the USB controller on the board is actually failing.
If the affected ports fail to recognize a keyboard in the BIOS before Windows even loads, it is definitively a hardware issue. When multiple ports in the same physical cluster stop working simultaneously, the shared controller chip for that cluster is dying. On a three-year-old board, losing a cluster of USB ports is a major red flag that the board is degrading broadly.
RAM Slot Failure vs. Bent CPU Socket Pins
If you install four sticks of RAM but Windows only detects half your capacity (or the PC refuses to POST with RAM in slots A1/A2), your first thought might be a dead memory stick or dead motherboard slot.
However, before you declare the motherboard dead, check this critical technician secret: Bent socket pins and uneven CPU cooler mounting pressure.
On modern Land Grid Array sockets (Intel LGA1700 and AMD AM5), the motherboard socket contains over 1,700 spring-loaded pins that make direct physical contact with the CPU pads. The CPU internal memory controller (IMC) communicates with RAM slots through these exact socket pins.
- If you overtighten one corner of your CPU cooler or tighten the bracket unevenly, the CPU can tilt slightly in the socket, breaking contact with an entire memory channel.
- If even one single socket pin is bent by a fraction of a millimeter, slots A1 and A2 will fail to detect memory entirely.
Before replacing the board: Remove your CPU cooler, take out the processor, and inspect the socket under direct light with your phone camera zoomed in. If any pin reflects light at a different angle, it is bent. If all pins are straight, reinstall the CPU and tighten the cooler screws in an alternating cross pattern until finger-tight plus a quarter turn. If two slots still refuse to read known-good RAM sticks, the motherboard's PCB traces or physical slot solder joints have failed.
PCIe Slot Death
A degrading PCIe slot reveals itself when a GPU or capture card becomes unreliable. Symptoms include display artifacts, random driver crashes, or the card disappearing from Device Manager entirely.
If a GPU throws errors in your primary slot but works perfectly in a secondary slot on the same board, the primary slot is failing. This is incredibly common on systems that have hosted massive, heavy graphics cards for years. The physical leverage stress from a sagging GPU can permanently damage the slot and the traces behind it over time.
BIOS Settings Resetting Every Boot
If your BIOS settings — like XMP profiles, boot order, and system time — reset to defaults every time you turn the PC off, your CMOS battery is dead. Replacing the CR2032 coin battery is a $2 fix that takes two minutes.
However, if you put a brand new battery in and the BIOS still forgets its settings on every power cycle, the CMOS circuit on the motherboard itself is faulty. A failing CMOS circuit is a permanent hardware flaw with no simple fix.
VRM Failure Symptoms
The Voltage Regulator Module (VRM) takes 12V power from your PSU and converts it into the precise, low voltage your CPU needs to run. VRM failure is severe because it directly affects CPU stability.
Early symptoms include the CPU aggressively throttling under heavy loads despite perfect cooling temperatures, system crashes during intensive rendering tasks while idling perfectly fine, or previously stable overclocks suddenly failing. You might even notice a faint chemical burning smell near the CPU socket.
If you monitor VRM temperatures in HWiNFO64 and see them pushing past 100°C under load, the VRM is degrading or lacks proper cooling airflow. Pushing a high-end CPU hard on a cheap budget motherboard will accelerate this degradation significantly.
Capacitor Bulge: Visual Inspection
Capacitor failure is visible, making it an easy physical check. A healthy capacitor has a perfectly flat top. A failing one develops a dome-shaped bulge and might leak a crusty brown residue onto the PCB.
Power down, open the case, and use a flashlight to inspect the rows of cylindrical capacitors near the CPU socket and PCIe slots. Any capacitor with a bulging top or cracked casing has failed. While soldering on a replacement is technically possible, a board showing multiple blown capacitors belongs in the recycling bin.
LAN Port Dropping and Reconnecting
Intermittent network disconnects — where your ethernet drops for two seconds and comes back — are infuriating. If the problem persists across different cables, different routers, and clean driver installs, the physical LAN controller on the board is likely failing.
This happens frequently as boards age. The practical workaround is buying a cheap PCIe or USB network adapter rather than replacing the entire motherboard, assuming the rest of the system is stable.
Diagnostic Elimination Process
When you suspect a motherboard failure, work systematically. Reseat everything first; a massive number of "failures" are just loose components. Clear the CMOS to rule out corrupted settings.
Try a minimum boot configuration: one RAM stick, no GPU, and only the OS drive. If it boots, add components one by one until it fails. Swap in known-good components if you have them. Update the BIOS, as firmware bugs often perfectly mimic hardware failures. If the failure persists regardless of component swaps and BIOS updates, the board is the culprit.
When to Repair vs Replace
The repair calculation depends entirely on the board's value and age.
A dead CMOS battery or a single failed USB port is easily bypassed; keep the board. If you have one dead M.2 slot but another works perfectly, just use the working one.
However, if you are experiencing multiple concurrent symptoms — dead RAM slots alongside dropping USB ports — the board is dying. Bulging capacitors, extreme VRM temperatures, or persistent POST failures mean it's time for a replacement.
If you are on an ancient platform, like a 6th Gen Intel chip, a board failure is a sign from the universe to upgrade your entire CPU and motherboard platform rather than hunting down expensive, used replacement parts. Board failures are annoying, but identifying them accurately stops you from wasting money replacing perfectly good RAM and power supplies.
Related Guides
← Back to home