 Zyrox
ZyroxBIOS Tuning Basics for Stable Overnight Overclocking and Undervolting
A master guide to BIOS tuning for true overnight CPU and RAM stability. Covers Load Line Calibration (LLC), AMD Curve Optimizer per-core tuning, WHEA Event 18 diagnostics, and stress testing.
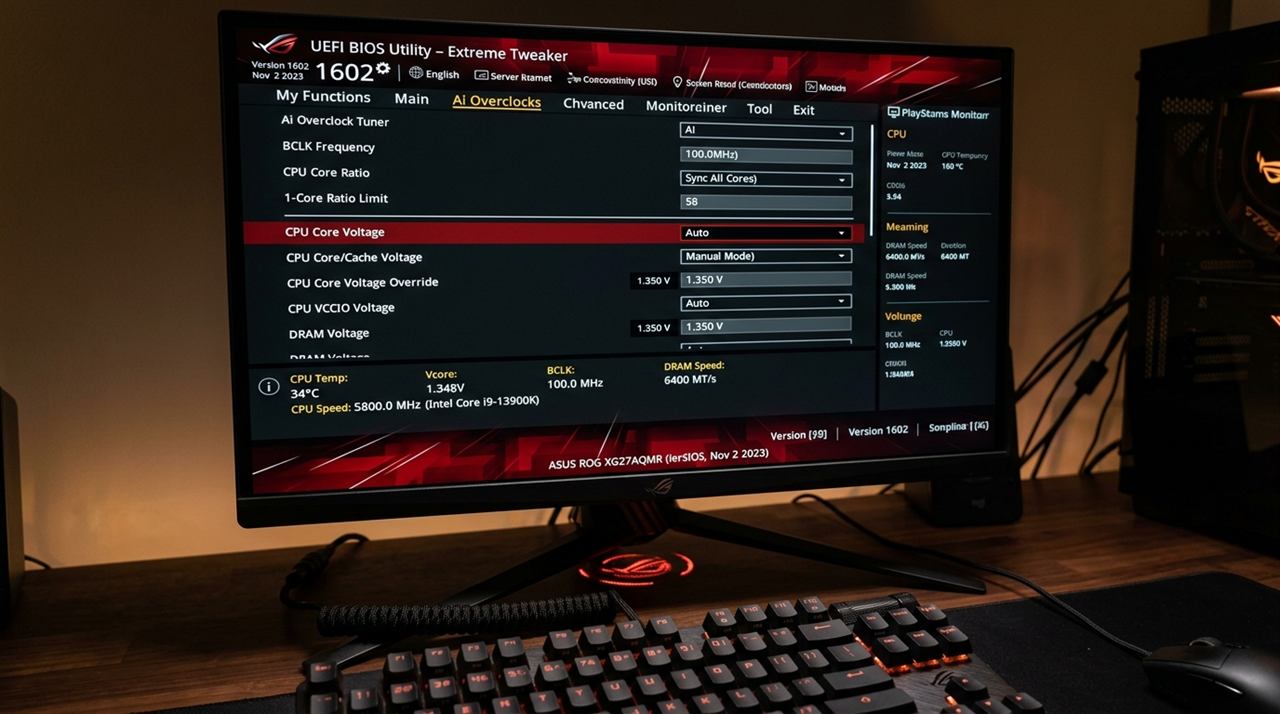 Calling an overclock or undervolt "rock-solid stable" simply because it survived a 45-minute loop of Cinebench is the most pervasive mistake in modern PC enthusiasm. I know because I made the exact same mistake early in my career.
You run Cinebench R23, the temperatures plateau at a respectable 78°C, the benchmark score looks pristine, and you boot back into Windows feeling victorious. Then, at 3:15 AM — six hours into an overnight 4K video render or an unattended 3D physics simulation — you wake up to find your desktop frozen on a black screen or locked in an endless reboot loop.
A system running near its stability threshold can pass synthetic multi-core loops for hours, only to violently crash the moment CPU load drops to idle or switches between low-power single-threaded execution states.
True "24/7 overnight stability" requires understanding voltage droop physics, motherboard VRM behavior, transient voltage spikes, and systematic testing. Here is how to methodically tune your BIOS for bulletproof 24/7 reliability.
The Hierarchy of Stress Tests: Beyond Cinebench
Different stress tests tax completely different sections of CPU microarchitecture:
[ Cinebench R23 / R24 ] ──► Fast thermal sanity check (Heavy FP, predictable load)
            │
            ▼
[ Y-Cruncher (VT3) ]    ──► Brutal memory controller & AVX-512 cache test
            │
            ▼
[ Prime95 (Small FFTs) ]──► Worst-case thermal & VRM current test
            │
            ▼
[ Prime95 (Blend) ]     ──► True 8-hour overnight stability arbiter (CPU + RAM)
- Cinebench R23/R24 (Multi-Core, 30 Minutes): Use this exclusively as a thermal sanity check. If your cooler cannot keep your processor below 90°C during Cinebench, you have zero thermal headroom for higher clock speeds or voltages.
- Y-Cruncher (VT3 Benchmark): Modern CPUs frequently crash not on pure core calculations, but within the internal memory controller (IMC) and L3 cache during complex mathematical algorithms. Y-Cruncher exercises AVX-512 / AVX2 vector instructions and exposes memory timing instability within 15 minutes.
- Prime95 Blend (8 to 12 Hours): The undisputed gold standard for unattended stability. It cycles dynamically between Small FFTs (heavy CPU load) and Large FFTs (intense RAM and PCIe interconnect load). If a machine passes 8 hours of Prime95 Blend without a worker thread stopping or a Windows WHEA error, you can trust it with critical work.
Load Line Calibration (LLC): Taming VDroop and Voltage Overshoot
When a processor transitions from idle (0% load) to full multi-core load (100%), electrical current draws jump instantaneously from 15 amps to 200+ amps.
This massive surge causes the voltage reaching the CPU to naturally sag — an electrical phenomenon known as VDroop:
- Without mitigation, VDroop starves the CPU of required voltage under load, causing an immediate crash.
- Load Line Calibration (LLC) is a motherboard feature that pushes extra voltage to compensate for VDroop.
The Danger of Aggressive LLC:
Novice overclockers often select the highest possible LLC setting (e.g., Level 8 on ASUS or Mode 1 on MSI) thinking "flat voltage is good." This is dangerous.
When an aggressive LLC fights VDroop, the sudden release of load when a game or render ends causes Transient Voltage Overshoot. For a fraction of a millisecond, the VRM spikes voltage far above your safe limit (sometimes jumping from 1.25V to 1.42V). Over months, these invisible millisecond spikes degrade the CPU's internal silicon pathways.
The Recommended LLC Sweet Spot:
- ASUS Motherboards: Level 5 or Level 6 (provides gentle, linear droop with zero overshoot).
- MSI Motherboards: Mode 3 or Mode 4.
- Gigabyte Motherboards: "Turbo" (avoid "Extreme" or "Ultra Extreme").
- ASRock Motherboards: Level 2 or Level 3.
Verify this in HWiNFO64: under full Prime95 load, your VCore should dip by approximately 0.02V to 0.03V below its idle setpoint. That slight drop is intentional and protects your silicon.
AMD AM5 Tuning: Mastering PBO and Curve Optimizer
On modern AMD Ryzen processors (Ryzen 7000 and 9000 series), traditional static manual overclocking is dead. AMD's built-in boost algorithm (Precision Boost 2) pushes single-core clocks higher than any manual multiplier could ever achieve safely.
Instead, you use Precision Boost Overdrive (PBO) paired with the Curve Optimizer (CO):
How Curve Optimizer Works:
Curve Optimizer shifts the factory Voltage-Frequency (V/F) curve downward. A negative offset delivers less voltage at each frequency step, which drops operating temperatures and gives the CPU thermal headroom to sustain higher clock speeds automatically.
- Step 1: Enter BIOS > Advanced > AMD Overclocking > Precision Boost Overdrive.
- Step 2: Set PBO to Advanced, PBO Limits to Motherboard (or Manual with sensible PPT/TDC/EDC limits).
- Step 3: Select Curve Optimizer. Start with an All-Core Negative Offset of -15.
- Step 4: Boot into Windows and stress test. If stable, increase the magnitude to -20, then -25.
- Most silicon handles between -20 and -30 across all cores.
Diagnosing Idle Crashes with WHEA Event 18:
The trap with Curve Optimizer is that systems rarely crash under 100% load; they crash when you are browsing Chrome or the PC is idling. When the CPU boosts to 5.7 GHz on a single core at idle, an aggressive negative offset starves that specific core of voltage.
To identify which core failed:
- Open Windows Event Viewer > Custom Views > Administrative Events.
- Filter for Event ID: 18 (Source:
WHEA-Logger). - Click the event and check the APIC ID number.
- Divide the APIC ID by 2 (rounding down) to find the physical failing core (e.g., APIC ID 6 or 7 = Core 3). (Tip: On dual-CCD processors like the Ryzen 9 7900X or 7950X, you can confirm your processor's exact APIC-to-Core mapping by generating a quick text report in CPU-Z under Tools > Save Report).
- Return to BIOS, switch Curve Optimizer to Per-Core, and relax that specific core from -30 back to -20 while leaving stronger cores at -30.
Memory Stability: TestMem5 and Karhu
CPU stability is meaningless if your memory subsystem produces silent bit flips. An unstable memory overclock or tight sub-timing will quietly corrupt system files and game save files in the background without throwing an immediate Blue Screen.
To validate DDR4 or DDR5 memory overclocks:
- Download TestMem5 (TM5) with the Universal2 or Anta777 Extreme configuration profile.
- Run TM5 for at least 3 full cycles (typically 1.5 to 2 hours).
- If TM5 reports even a single error, your memory is unstable. Check your VDDQ, VDDIO, and System Agent (SA) / SoC voltages.
- On AMD AM5, keep SoC Voltage strictly below 1.25V (1.30V absolute maximum) to prevent socket burnout.
Emergency Recovery: Clearing CMOS When Your PC Won't POST
When tuning voltages, you will inevitably push too far and your PC will refuse to turn on, leaving you staring at a black screen:
- BIOS Flashback / Clear CMOS Button: Most modern mid-range motherboards feature a small button on the rear I/O shield labeled "Clear CMOS". Shut down the PSU, press and hold this button for 10 seconds, and turn the PC back on.
- The Battery Pull Method: If your board lacks a button, unplug the power supply, remove the shiny CR2032 coin-cell battery from the motherboard for five minutes, and reinstall it. This resets all BIOS parameters to factory defaults.
- Save BIOS Profiles to USB: Once you achieve a stable tune, always navigate to the "Save / Exit" tab in your BIOS and export your settings to a FAT32 USB flash drive. If a BIOS update clears your configuration, you can restore your exact offsets in five seconds.
Related Guides
← Back to home