 Zyrox
ZyroxThe BIOS Settings That Matter Most for a Stable Overclock
Learn the BIOS settings that affect CPU voltage, memory stability, power limits, and safe overclock tuning. Includes XMP/EXPO, LLC, and thermal limit tips.
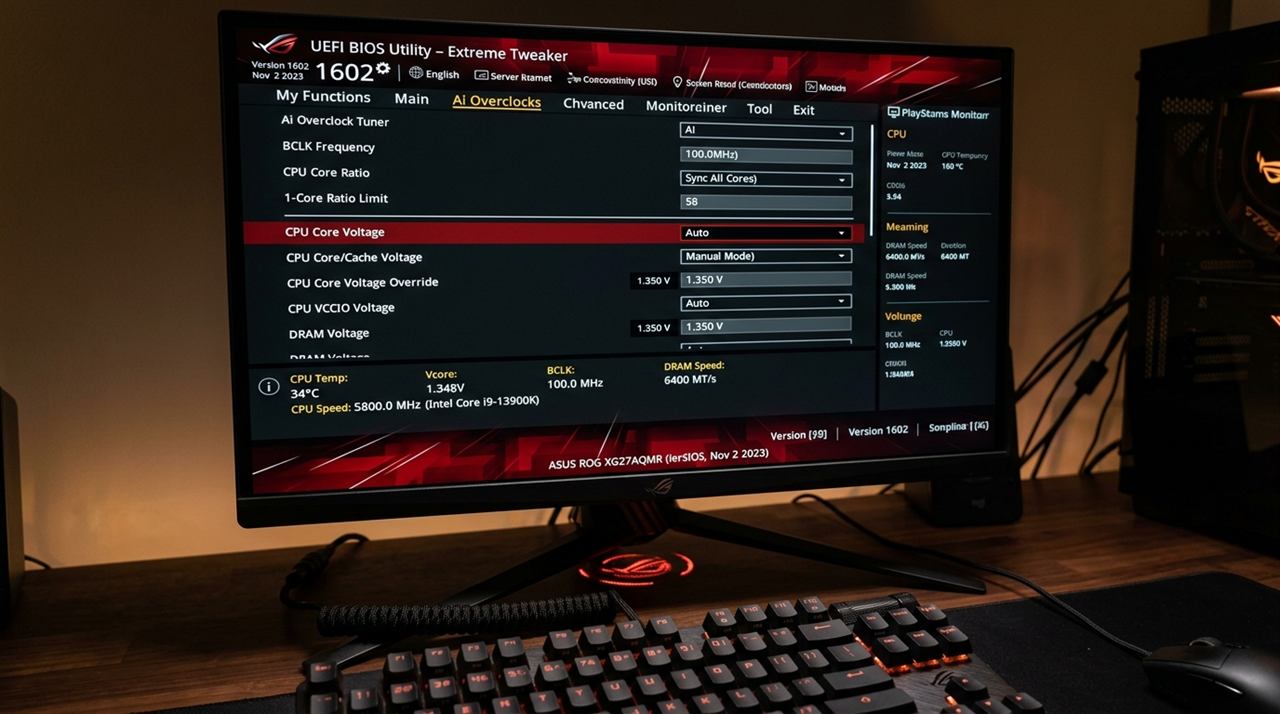 My very first overclock attempt ended in a frustrating three-hour debugging session. The mistake I made had nothing to do with voltages or frequencies. I changed six settings simultaneously — the CPU multiplier, LLC level, DRAM voltage, power limits, fan curve, and XMP profile — all in one go. I hit save, rebooted, and the system crashed under load within three minutes.
Because I had changed everything at once, I had absolutely no idea which setting was causing the instability. I had to clear the CMOS, start completely from scratch, and throw away all my progress.
That taught me the golden rule of overclocking: change one variable at a time, test it, confirm stability, and only then move to the next. It sounds obvious, but when you are staring at a BIOS screen with dozens of tempting parameters, the urge to batch-optimize is strong. Resist it.
Here is the breakdown of the BIOS settings you actually need to care about, and how to approach them systematically.
Navigating the Three Major BIOS Interfaces
The settings themselves are basically identical across manufacturers, but the menu structures are just different enough to be annoying.
- ASUS Boards: Press F7 to exit EZ Mode. All tuning happens in the AI Tweaker (or Extreme Tweaker on ROG boards) tab. Here you find CPU Core Ratio, CPU Core Voltage, and DIGI+ VRM Load-line Calibration. Note how ASUS numbers their LLC: Level 1 is the least aggressive (maximum natural Vdroop) and Level 8 is the most aggressive (nearly flat voltage with higher overshoot risk). For daily overclocks, Level 4 or Level 5 is typically a balanced starting point, though the ideal level varies by board VRM.
- MSI Boards: Press F7 to enter Advanced Mode and head to the OC tab. MSI's CPU Loadline Calibration is numbered in reverse: Mode 1 is the most aggressive (lowest Vdroop / flattest voltage), while Mode 8 allows the highest amount of natural Vdroop. A balanced mid-level setting like Mode 3 or Mode 4 is commonly used for everyday tuning.
- Gigabyte Boards: Found in the Tweaker > Advanced Voltage Settings > CPU/VCore Settings menu. Gigabyte uses named profiles: Standard, Low, Medium, High, Turbo, Extreme, and Ultra Extreme. Avoid Extreme or Ultra Extreme for daily systems; stick to High or Turbo to minimize transient voltage overshoot when load drops.
The CPU Multiplier: Starting from Turbo Clocks
CPU frequency is determined by your Base Clock (BCLK, typically 100 MHz) multiplied by the CPU Multiplier. Because adjusting BCLK affects other bus subsystems like PCIe and NVMe drives, modern tuning relies almost exclusively on multiplier adjustments.
For unlocked Intel K-series chips (like a 13600K or 14700K):
- Do not start from base frequency: A 13600K has a base clock of 3.5 GHz (35x), but a factory all-core turbo of 5.1 GHz (51x). Setting the multiplier just above base clock will severely downclock your CPU.
- Start at your factory all-core turbo ratio: Set the CPU Core Ratio to your stock all-core turbo (e.g., 51x for a 13600K P-core, 55x for a 14700K P-core). Boot to Windows without touching voltage and run a quick benchmark pass (such as Cinebench R23) to establish a baseline.
- Step up incrementally: Increase the multiplier by one step (100 MHz / 1x ratio) at a time across all performance cores. Test between each step. Once a test crashes, throws a calculation error, or freezes, you have found the limit of your current voltage setting.
On modern AMD Ryzen processors (AM5), manual fixed multiplier tuning remains possible, but Precision Boost Overdrive (PBO) with Curve Optimizer is generally far more efficient. PBO allows the processor to boost aggressively on single-threaded tasks while maintaining power and thermal efficiency during mixed gaming loads.
CPU Voltage, Power Limits, and LLC
Voltage is where hardware can be damaged if handled carelessly. The objective is always to find the lowest voltage that maintains stability under your target frequency.
Intel 13th & 14th Gen Power Limits
Motherboard vendors historically defaulted to unlimited power targets (such as 4096W PL1/PL2), pushing excessive VID requests into Raptor Lake processors. To protect your hardware and maintain thermal control:
- Ensure your motherboard BIOS is updated to include the latest microcode fixes (such as 0x12B or newer releases provided by your board manufacturer).
- Select the Intel Default / Performance Profile rather than unlocked vendor profiles. Official Intel guidance specifies:
- Core i9-13900K / 14900K: Baseline profile uses PL1 = 125W, PL2 = 253W (ICCMax 307A); Performance profile sets PL1 = 253W, PL2 = 253W.
- Core i7-13700K / 14700K: PL1 = 125W to 253W, PL2 = 253W.
- Core i5-13600K / 14600K: PL1 = 125W, PL2 = 181W (ICCMax 200A).
- Rather than applying a fixed manual voltage, consider an adaptive negative voltage offset (e.g., -0.030V to -0.060V to start). Test thoroughly; while undervolting does not degrade silicon, an overly aggressive offset will cause instability, WHEA errors, and idle freezes.
AMD AM5 SOC Voltage
On Ryzen 7000 and 9000 processors, verify in HWiNFO64 that CPU VDDCR_SOC (VSOC) does not exceed 1.30V. When enabling high-speed EXPO memory profiles, a stable operating window of 1.20V to 1.25V is typically optimal and safeguards the 3D V-Cache silicon.
Load Line Calibration (LLC)
Under heavy load, resistance in the motherboard VRM causes delivered voltage to sag slightly below the idle setpoint (Vdroop). LLC directs the board to compensate for this droop.
Never set LLC to its maximum flat profile. When a heavy compute load suddenly terminates, the voltage regulator can briefly produce transient voltage overshoot, delivering a short spike above your set limit. A moderate LLC setting allows a slight natural drop under load, protecting your processor.
Thermal Limits (TJMax) Tuning
Most modern processors are designed to run right up to their thermal limits under sustained multi-core loads (95°C on AM5, 100°C on Intel).
If you prefer a quieter system or want to safeguard temperatures inside a compact case, you can set a manual Platform Thermal Throttle Limit (TJMax) in BIOS:
- On AM5 (PBO): In AMD Overclocking, setting a thermal throttle limit of 85°C drops operating temperatures significantly while retaining roughly 97–99% of multi-core performance.
- On Intel: Setting a Max CPU Temperature limit of 90°C in the BIOS power management menu prevents fans from ramping to maximum acoustic levels during long rendering tasks.
The DDR5 Trap: XMP/EXPO and the 4-Stick Penalty
- Enable the Profile: Head to the AI Tweaker or OC tab, find XMP (Intel) or EXPO (AMD), and enable Profile 1.
- The 4-Stick DDR5 Gotcha: If you install four sticks of DDR5, the internal memory controller (IMC) faces heavy electrical load. Consumer boards will often downclock to DDR5-3600/4400 or fail to POST at 6000 MT/s with four modules. Use a 2-stick dual-channel kit in slots A2 and B2 (slots 2 and 4 from the CPU socket) for high-frequency stability.
- Long Boot Times on AM5: If your system takes 45–60 seconds to complete memory training on cold boots, enable Memory Context Restore (MCR) in your DRAM settings, and ensure Power Down Mode is also set to Enabled. MCR allows the system to reuse cached memory training parameters, often bringing POST times down under 15 seconds.
The Stress Testing Reality Check
A quick Cinebench run is a useful thermal sanity check, but it does not prove long-term stability.
To properly validate an overclock:
- Prime95 (Small FFTs): Run for 20–30 minutes to check maximum thermal limits and worst-case VRM capability.
- Prime95 (Blend) or Y-Cruncher: Tests both CPU execution units and the memory controller. An overnight or multi-hour pass is a strong indicator of mathematical stability.
- Real-World Mixed Loads: Don't rely exclusively on synthetic tests. Play modern games with varied CPU usage (like Cyberpunk 2077 or Counter-Strike 2) and perform everyday desktop tasks. Many unstable overclocks or aggressive undervolts will pass heavy all-core loops only to crash during light-load idle transitions.
If instability appears, step back the multiplier by 100 MHz, ease off negative offsets, or slightly adjust your LLC configuration until your system is stable across all workloads.
Related Guides
← Back to home