 Zyrox
ZyroxHow to Fix High CPU Usage on Windows
A practical guide to diagnosing and fixing high CPU usage on Windows with steps that target background apps, drivers, and system settings.
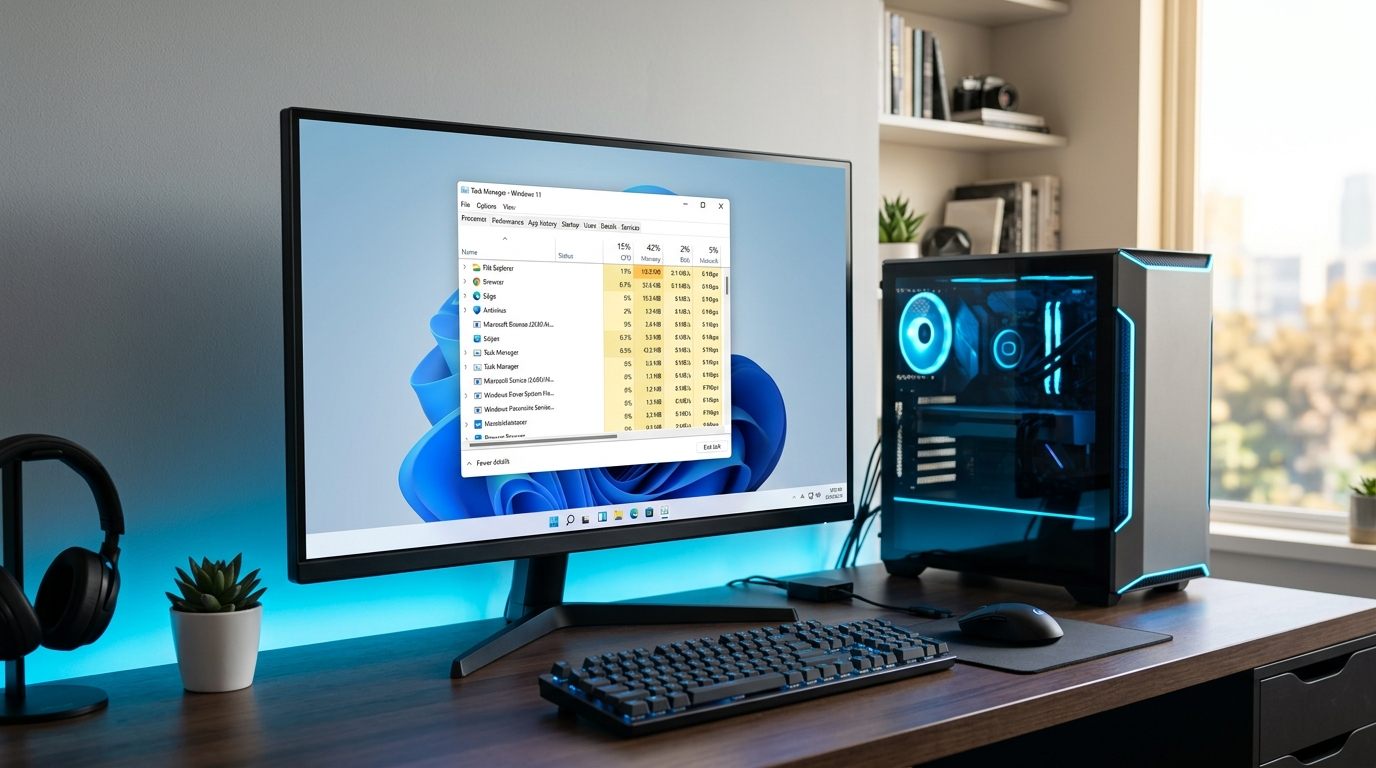 High CPU usage is one of those problems that creeps up on you. One day your PC is snappy and responsive, the next it sounds like a jet engine and every click takes two seconds to register. I've been down this road more times than I can count — both on my own machines and helping friends debug theirs — and the good news is that the fix is almost always findable if you work through it systematically.
This guide covers everything from reading Task Manager like a pro to hunting down driver-level CPU hogs. Let's get into it.
Step 1: Open Task Manager and Actually Read It
Most people open Task Manager, see a number next to a process, and either ignore it or immediately try to kill it. The real skill is understanding what the columns are telling you.
Press Ctrl + Shift + Esc to open Task Manager. Go to the Processes tab. The default "CPU" column shows real-time usage, which is good for catching active offenders, but it refreshes every second and can be misleading.
What you really want is the "CPU Time" column, which shows total CPU seconds consumed since the process started. Right-click any column header to add it, then sort by CPU Time descending. A process that has consumed thousands of CPU seconds over a few hours is burning your resources even if it looks calm right now.
Step 2: Services vs. Processes — What's Safe to Disable
Task Manager shows Apps (user-launched programs) and Background processes (system and third-party services).
Some processes are totally safe to end temporarily. SearchIndexer.exe handles Windows Search — ending it just makes searches slower. You can kill OneDrive, Teams, or Discord if you aren't actively using them.
Under the Services tab, you can evaluate Windows services. SysMain (Superfetch) is usually safe to disable if you have an SSD, as it's mostly redundant. You can disable Windows Search if you don't use the Start menu search, or Print Spooler if you don't own a printer. But never disable load-bearing services like Windows Update, Windows Defender, or RPC (Remote Procedure Call), as that will cause cascading failures.
Step 3: Windows Update CPU Spikes
Windows Update is a massive cause of mystery CPU spikes. When it runs in the background, it fires up TiWorker.exe (Windows Modules Installer Worker) and wuauclt.exe. Both of these can peg a single CPU core at 100% for minutes at a time.
This isn't a bug. It's Windows compressing, installing, and verifying update packages. But it's infuriating if it happens while you're in a meeting.
To schedule around this, go to Settings → Windows Update → Advanced options. Set your Active hours to your working hours (e.g., 8 AM – 11 PM). If TiWorker is currently spiking, just let it finish. Don't kill it manually mid-install, or you'll corrupt the update state.
Step 4: Antivirus Real-Time Scanning
Real-time scanning catches malware by intercepting every file read and write. That's a lot of work. Windows Defender has gotten lighter, but the Antimalware Service Executable (MsMpEng.exe) can still be a hog. If it sits above 15% CPU during normal desktop use, something is triggering frequent scans.
This usually happens when you are downloading large files, running compilers that generate thousands of new files, or syncing cloud storage. The fix is to add exclusions for folders you trust. In Windows Security → Virus & threat protection → Manage settings → Exclusions, add your development folders or game directories.
Step 5: Browser Tab CPU Usage
Modern web browsers are multi-process applications that consume substantial CPU and RAM. Each tab, extension, and GPU canvas runs in an isolated process.
- Built-in Browser Task Managers: Instead of guessing which tab is freezing your machine, press
Shift + Escinside Google Chrome or Microsoft Edge. This opens the browser's internal Task Manager, displaying the exact CPU percentage and memory footprint of every open tab, iframe, and extension in real time. - Background Throttling: Turn on Memory Saver in Chrome (
Settings > Performance) or Sleeping Tabs in Edge. Both features automatically freeze inactive background tabs, preventing rogue JavaScript loops and video ads from burning CPU cycles while you work elsewhere. - Hardware Acceleration: If Chrome or Edge's GPU process is pegging your CPU at 100%, outdated GPU drivers may be failing hardware-accelerated video decoding. Either update your graphics drivers or temporarily disable hardware acceleration in browser settings while troubleshooting.
Step 6: Malware Scans
Before blaming software configuration, rule out malware. Cryptominer infections are literally designed to max out your CPU while hiding from basic process lists.
Run a full scan with Windows Defender. I also highly recommend downloading the free version of Malwarebytes and running a Threat Scan. Malwarebytes catches Potentially Unwanted Programs (PUPs) and adware that Defender sometimes misses.
Step 7: SysInternals Process Explorer
When Task Manager isn't enough, grab Process Explorer from Microsoft's SysInternals suite. It's free and incredibly detailed.
Process Explorer shows you the full command line used to launch each process, the parent-child process tree, and a live CPU history graph. You can sort by CPU usage, hover over a process to see its path, and even right-click a suspicious process to send it directly to VirusTotal for a malware check.
Step 8: The System Idle Process Misunderstanding
In Task Manager, you might see "System Idle Process" sitting at 90–99% CPU usage. This is completely normal and is not a problem.
System Idle Process represents the percentage of CPU time that is not being used. A high number means your CPU is mostly free and resting. If System Idle Process is low (like 10%), that means something else is consuming 90% of your CPU. That's when you need to investigate.
Step 9: Driver-Level CPU Spikes and "System Interrupts"
Some of the hardest-to-find CPU hogs come from kernel-mode driver errors. In Task Manager, this shows up as elevated CPU usage under "System" or "System Interrupts":
- Understanding System Interrupts: System Interrupts is not a standard program; it represents hardware communication requests (Interrupt Requests and Deferred Procedure Calls - DPCs). If System Interrupts hovers above 3–5% CPU at idle, a faulty hardware driver or failing peripheral is misbehaving.
- Diagnosing with LatencyMon: Download the free tool LatencyMon and click the green Start button. Let it run for 3 minutes. It monitors kernel latency and tells you the exact driver filename causing the spike:
nvlddmkm.sys: Nvidia GPU driver (reinstall using Display Driver Uninstaller - DDU in Safe Mode).dxgkrnl.sys: DirectX graphics kernel (GPU driver or multi-monitor refresh rate mismatch).ndis.sys/tcpip.sys: Network adapter driver (update your Realtek/Intel LAN or Wi-Fi driver).ACPI.sys: Motherboard power management (update BIOS firmware and chipset drivers).
Step 10: Background Service Cleanup
Over time, installed software leaves behind background services that run at startup even if you don't use the app anymore.
Open Task Manager, go to the Startup apps tab, and disable everything you don't actively need. Then open msconfig, go to the Services tab, check "Hide all Microsoft services," and disable anything from vendors you don't recognize.
Restart your PC and monitor the CPU for a few minutes. Hopefully, your jet engine is back to being a quiet desktop.
Related Guides
← Back to home