 Zyrox
ZyroxHow to Fix 'No Bootable Device Found' After Installing a New NVMe SSD
Fix the No Bootable Device Found error after installing an NVMe SSD. Step-by-step BIOS, boot order, UEFI, and drive detection solutions.
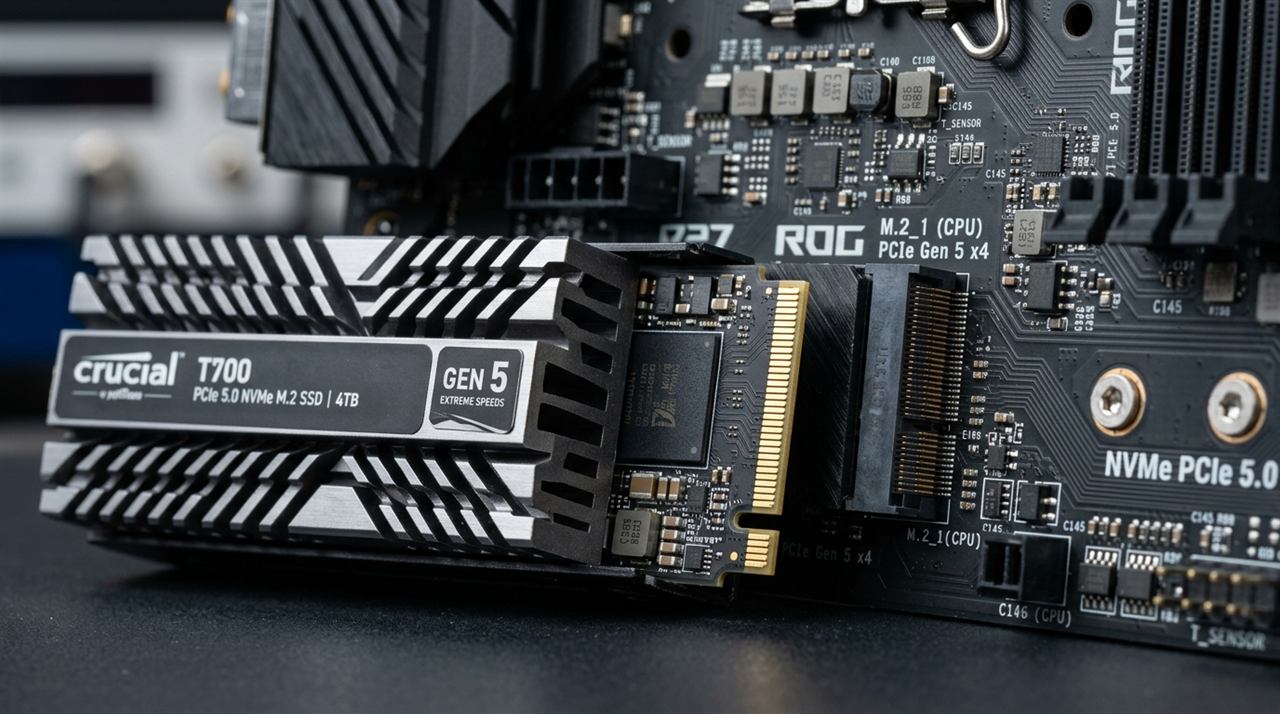 Last Tuesday I spent three hours — three actual hours — staring at a "No Bootable Device Found" screen on a PC that had a perfectly good NVMe SSD sitting in it. The drive was installed. The BIOS could see it. Windows just refused to boot. I'd done this exact upgrade probably fifty times before without issue, and this time it just... didn't work.
Turns out it was a CSM setting buried two menus deep in the BIOS. Took three hours to find a problem that took five seconds to fix. That's the thing with boot errors — they look terrifying but the actual cause is almost always something mundane.
If you just installed a new NVMe SSD and you're staring at this error, don't freak out. Your drive probably isn't dead. Let me walk you through what's actually going on.
Why Your PC Suddenly Forgot How to Boot
When you shove a new NVMe drive into a motherboard, a few things can go sideways. The drive might not be seated properly. This is embarrassingly common because NVMe drives go in at an angle, and you can screw them down without the contacts actually locking in.
Sometimes, the boot order just gets scrambled. Your motherboard is trying to boot from some random USB stick you left plugged in, or from your old SATA drive that doesn't have Windows on it anymore.
The biggest culprit is a UEFI versus Legacy mismatch. If your motherboard is set to Legacy/CSM boot mode, it literally cannot boot from an NVMe drive. NVMe requires UEFI. If you cloned an old Legacy SATA drive to a new NVMe drive without switching this setting, you get a black screen.
Also, cloning software isn't perfect. If it copied all your files but missed the hidden EFI boot partition, Windows has no idea how to start up.
Fixing It — Start With the Easy Stuff
Before you tear anything apart, do a hard power cycle. Shut down completely, pull the power cable from the PSU, and hold the power button for ten seconds to drain residual charge. Plug it back in and try again. If your motherboard has a Clear CMOS button, press it. Sometimes adding a new PCIe device confuses the BIOS lane assignments, and clearing CMOS forces it to redetect everything perfectly.
Next, physically check the connection. Pull the drive out and push it back in firmly — you should feel a slight click when the contacts engage properly. Check your manual too. On many boards, using specific M.2 slots disables specific SATA ports. If your old boot drive was on SATA port 5 and you just disabled it by plugging in an NVMe drive, nothing is going to boot.
Check if the BIOS Even Sees the Drive
Restart and mash Delete or F2 to get into the BIOS. Look for a Storage page or NVMe Configuration section. Does your drive name show up?
If it's there, the hardware is fine and you are dealing with a settings issue. If it's not there, the board doesn't know the drive exists. Try a different M.2 slot, or consider a BIOS update, as older boards sometimes struggle to recognize newer high-capacity drives on ancient firmware.
Fix the UEFI and CSM Settings
This was my three-hour Tuesday problem, and it is the cause 80% of the time when a cloned drive refuses to boot.
Find the Boot menu in your BIOS and look for the Compatibility Support Module (CSM). If it is enabled, disable it. Ensure your Boot Mode is set strictly to UEFI Only. NVMe drives talk to the system through PCIe, and that boot process requires UEFI. Legacy mode can see the drive for storage, but it absolutely cannot boot from it.
Fix the Boot Order
Maybe the BIOS is just looking at the wrong drive. In the BIOS Boot menu, find Boot Option #1. It needs to say "Windows Boot Manager" followed by your NVMe drive's name. If it just shows the raw drive name without "Windows Boot Manager," the BIOS doesn't see a valid bootloader on it.
A great trick: shut down, physically unplug your old SATA boot drive, and force the motherboard to only look at the new NVMe. If it works, great — plug the old drive back in later.
The Hidden Cloning Trap: MBR vs. GPT
If your new NVMe drive is detected in BIOS, but the motherboard refuses to list it as a UEFI boot device, you likely fell into the MBR cloning trap:
- Older Windows installations running on SATA drives frequently used the legacy MBR (Master Boot Record) partition style.
- Modern motherboards (and all NVMe boot specifications) require the GPT (GUID Partition Table) partition style to boot in UEFI mode.
- If you cloned an MBR drive directly onto an NVMe SSD, the motherboard physically cannot boot it in pure UEFI mode.
The Fix: You don't need to reinstall Windows to fix this. Boot into Windows RE (or your Windows USB installer Command Prompt) and run:
mbr2gpt /validate /disk:0
mbr2gpt /convert /disk:0
This safely converts the NVMe drive from MBR to GPT without wiping your data, automatically creating the missing EFI system partition.
Repair the UEFI Bootloader Properly (Bypass the 'Access is Denied' Bug)
Most old guides tell you to run bootrec /fixmbr and bootrec /fixboot. On modern Windows 10 and 11 UEFI systems, bootrec /fixboot will fail with an infuriating "Access is denied" error. That command only applies to ancient legacy BIOS disks.
To rebuild a corrupted UEFI bootloader on an NVMe SSD:
- Boot from your Windows USB installation media, select Repair your computer > Troubleshoot > Command Prompt.
- Run
diskpartand identify your EFI partition:diskpart list disk select disk 0 list volume - Look for the small 100MB (or 260MB) FAT32 volume (this is your hidden EFI System Partition). Select it and assign it a temporary drive letter:
select volume 3 (replace 3 with your FAT32 volume number) assign letter=S: exit - Now generate a fresh, uncorrupted UEFI boot structure directly from your Windows directory:
bcdboot C:\Windows /s S: /f UEFI - You will see "Boot files successfully created." Remove the USB stick, restart, and Windows will boot instantly.
Related Guides
← Back to home